
No Sew Lion Pillow - The Walt Disney Signature Collection Adds The Lion King!
When I think back to my favorite Disney movies of all time, The Lion King always comes to mind. It seems like just yesterday that I saw the tale of Simba the lion cub for the first time, but it was actually released in 1994! Crazy! Our kids love this movie and I am not even sure they would believe me if I told them it came out in 1994. We were sent a free digital code for the celebration of this movie being added to the Walt Disney Signature Collection and here is a fun no sew lion pillow to celebrate, as well! Curl up with your pillow as you watch this classic Disney movie!
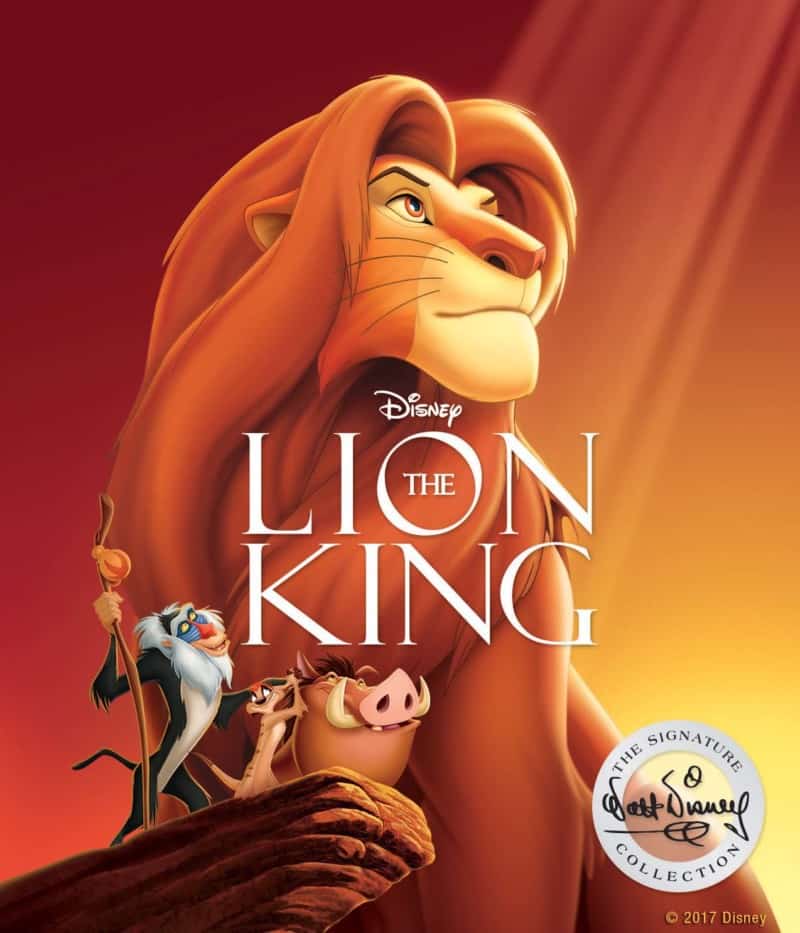
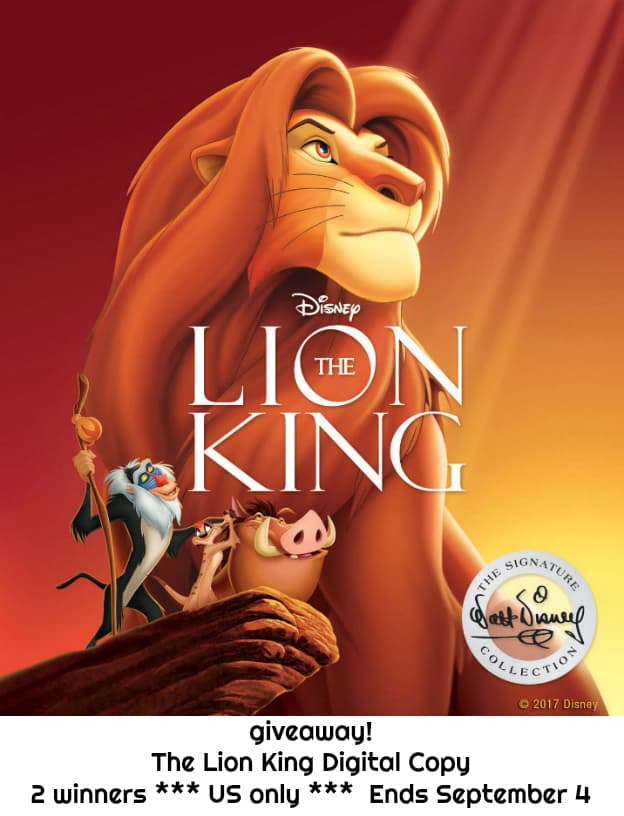
A new generation of Disney lovers will fall in love with The Lion King! Laughs, tears, and lots of songs make this classic movie a family favorite. The Walt Disney Signature Collection release includes over three hours of classic bonus material and exclusive, brand new features.
The film earned a Golden Globe® for Best Motion Picture-Comedy or Musical and inspired a Tony Award®-winning Broadway musical that is currently the third longest-running musical in Broadway history. Coming in 2019, a live-action film is coming!
The Lion King is the fifth title to join the Walt Disney Signature Collection. This collection includes films created or inspired by the imagination and legacy of Walt Disney, featuring timeless stories and characters that have touched generations. Already in this collection are these movies: Snow White and the Seven Dwarfs, Beauty and the Beast, Pinnochio, and Bambi.
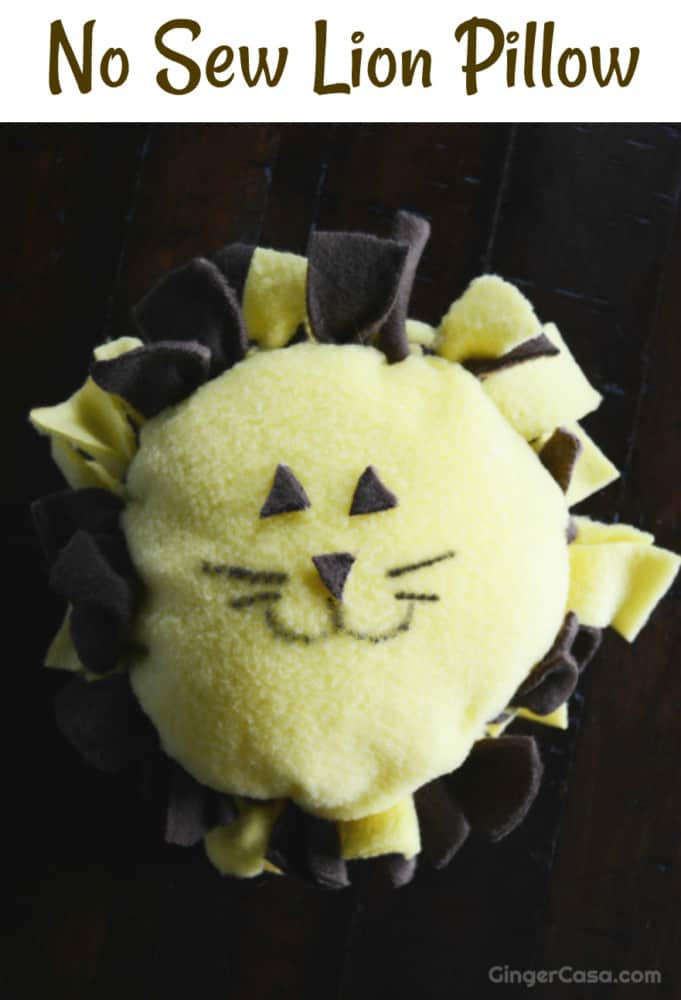
No Sew Lion Pillow
Materials Needed
- yellow fleece fabric
- brown fleece fabric
- scissors
- large plate or bowl
- small plate or bowl
- permanent marker
- poly-filler
- hot glue gun
Directioons
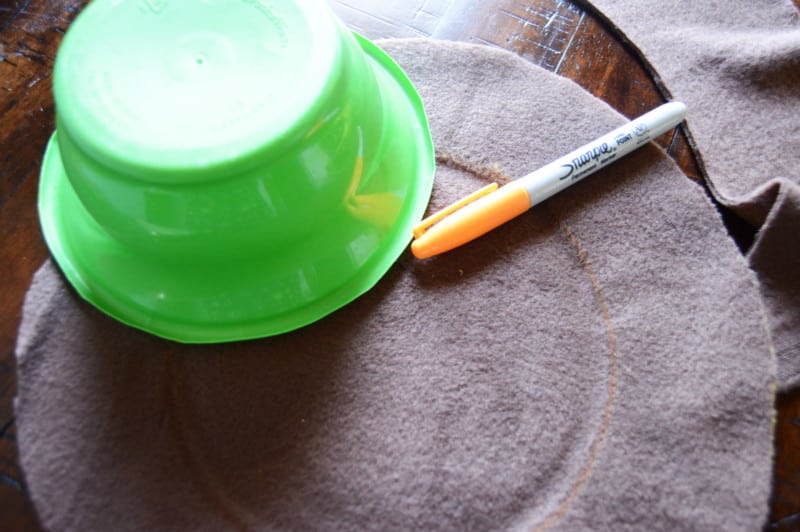
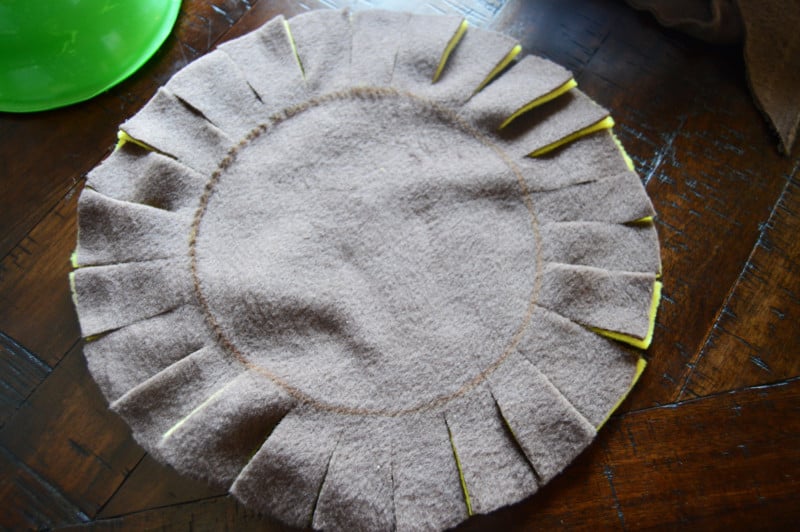
- Use a permanent marker to trace a large plate or bowl on both the yellow fleece fabric, and the brown fleece fabric.
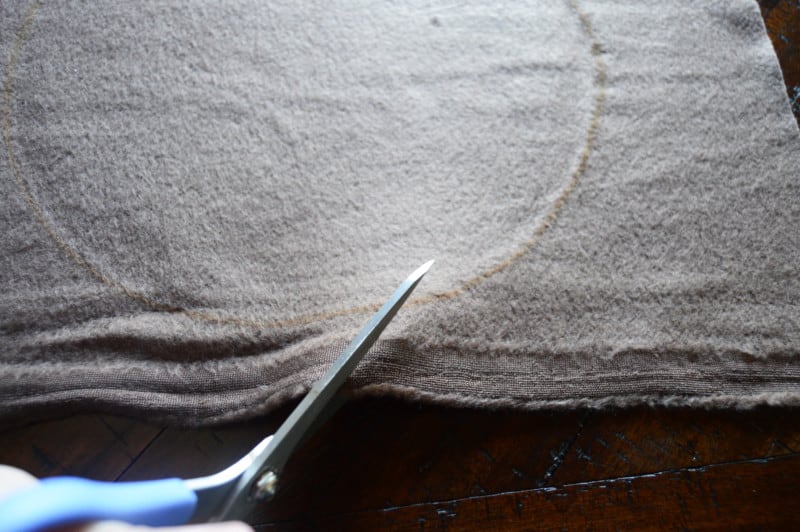
- Cut the circles out, and stack them on top of each other.
- Line the circles up evenly. Use the small plate or bowl and trace a circle in the center of the two cut fabric circles that are stacked on top of each other.
- Cut strips for the lion's mane down to the center circle. Cut both fabric circles at the same time to keep the strips even. Cut each strip about an inch wide for the best results.
- Tie the yellow and brown strips to each other one at a time. You don't need to use a special knot, just tie it regularly and tightly. Leave 4-5 strips in a row untied so you can stuff the lion.
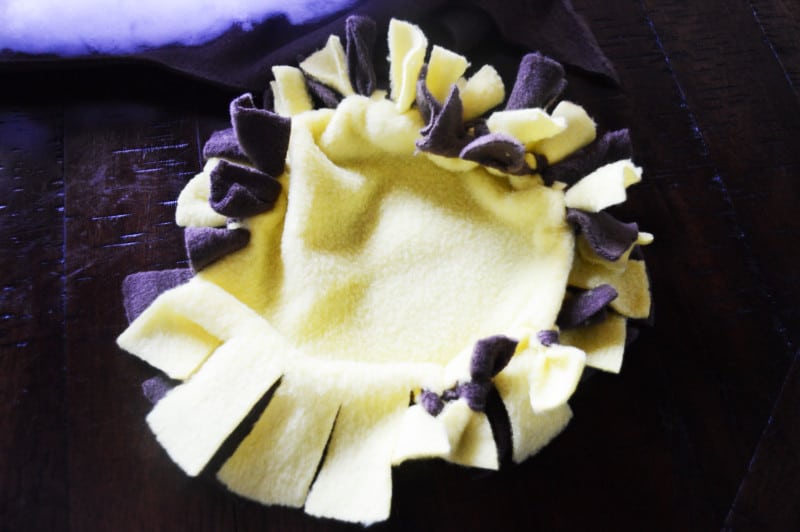
- Stuff the lion with poly-filler, then tie the remaining untied knots. The lion head should be fluffy and tight.
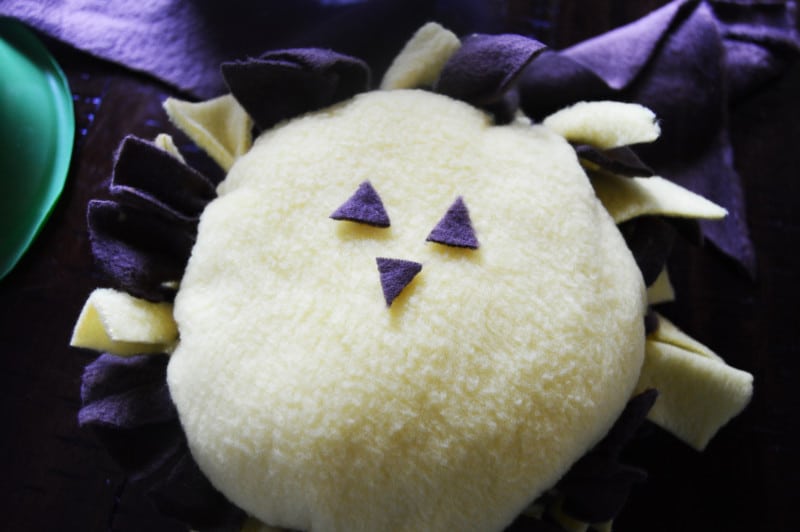
- Cut three small triangles from the brown fleece fabric. Use hot glue to attach them to the yellow side of the lion head for his eyes and nose.
- Use a permanent marker, and draw on his mouth and whiskers. Wait for the ink to dry before handling.
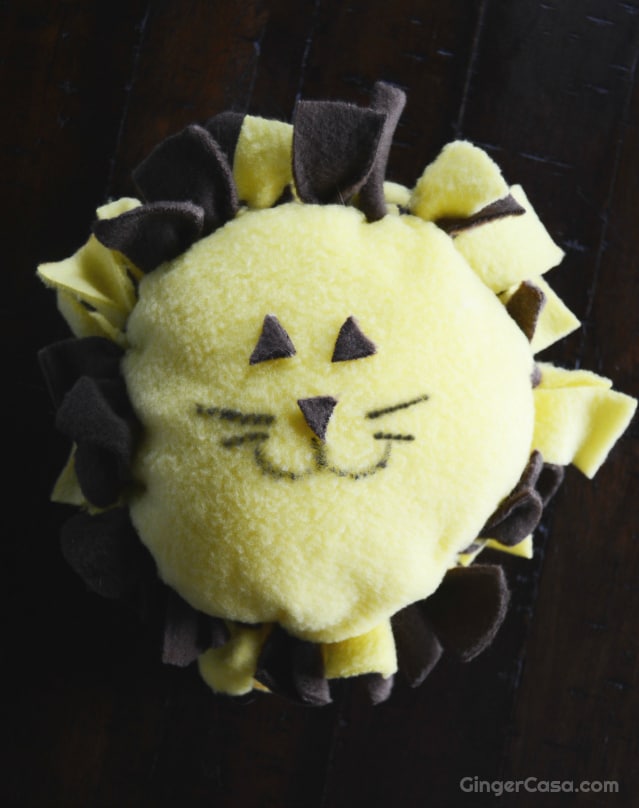

I love The Lion King! I can't believe it came out so long ago! Makes me feel so old! Love the lion craft, came out so nicely!