
The Making of: The Piñata and The Microphone Cake
If you've been reading my posts, you know that I've been agonizing over the microphone cake that Captain Fussybuckets requested for his 3rd birthday party as well as the piñata that I had the brilliant idea of making. I promise this will be the last birthday post for awhile...well, okay, maybe a few days/weeks, as Baby D turns 1 in December....but here is how I made the piñata and cake!
First things first: I am NOT crafty. I do not believe that these two items look good, but it's what my kid wanted, so I tried to make it happen.
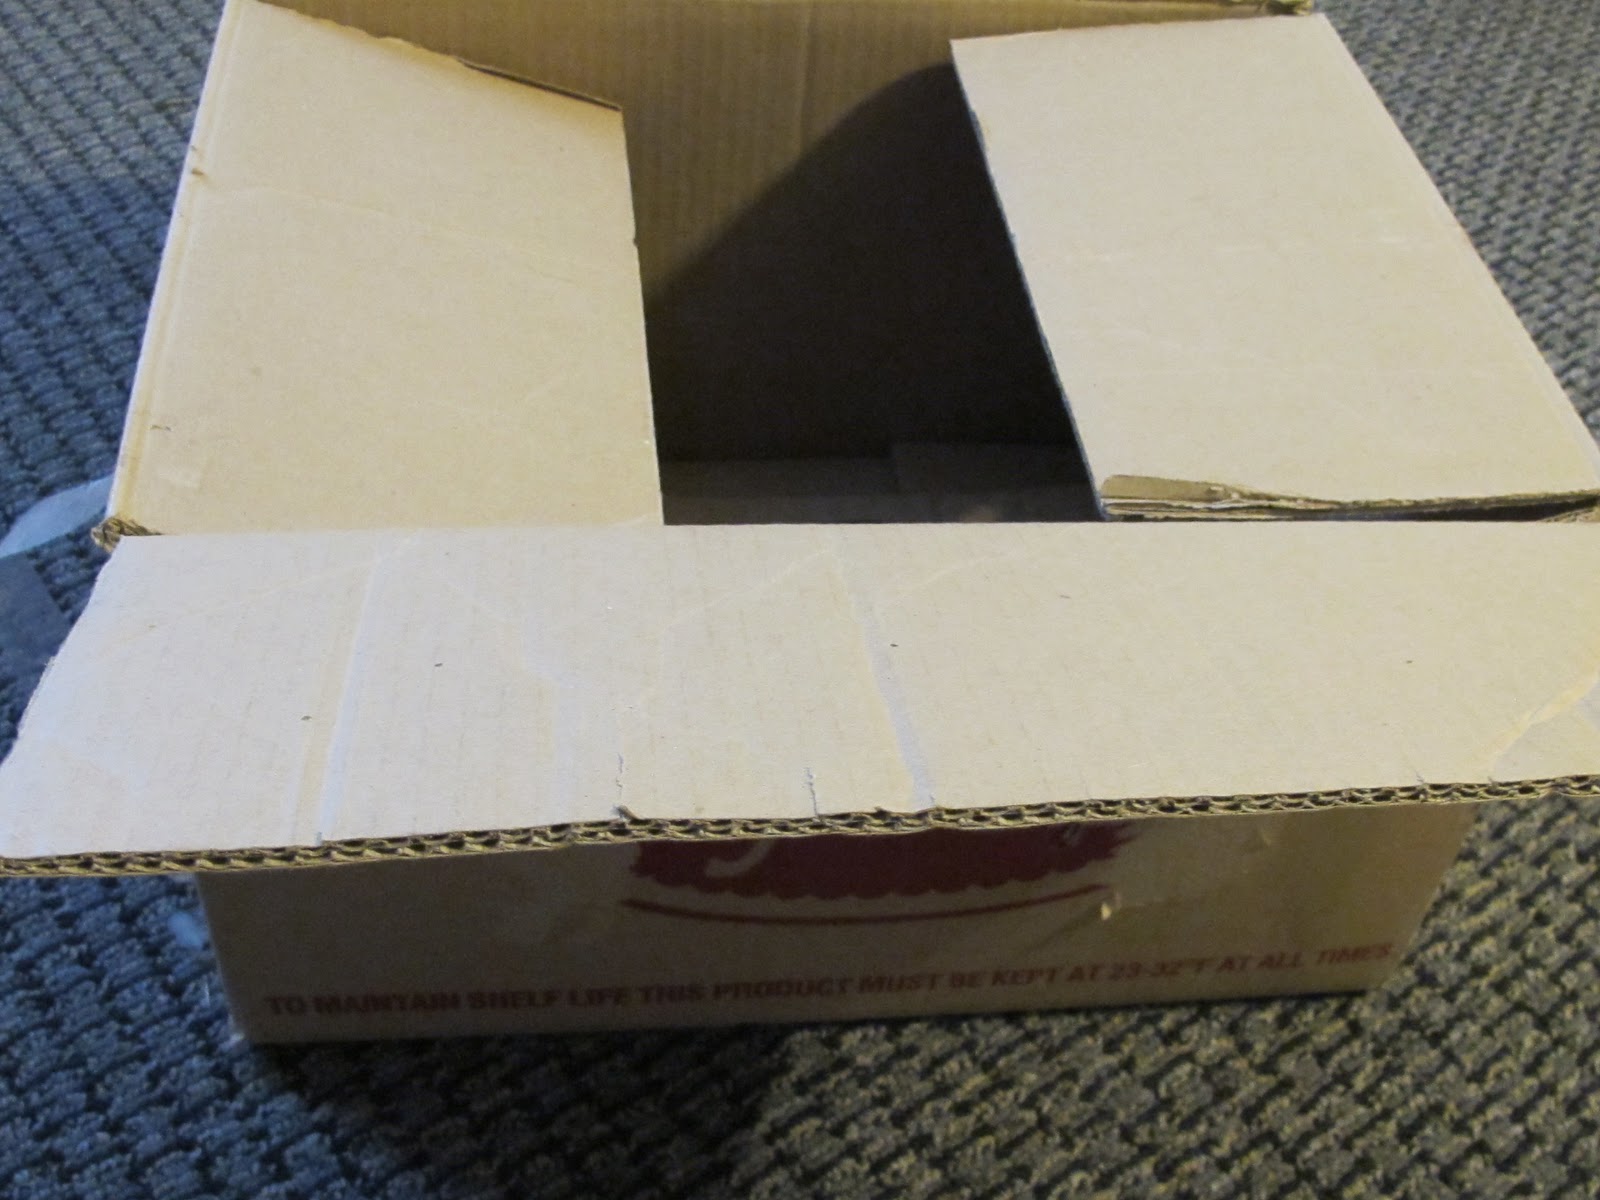
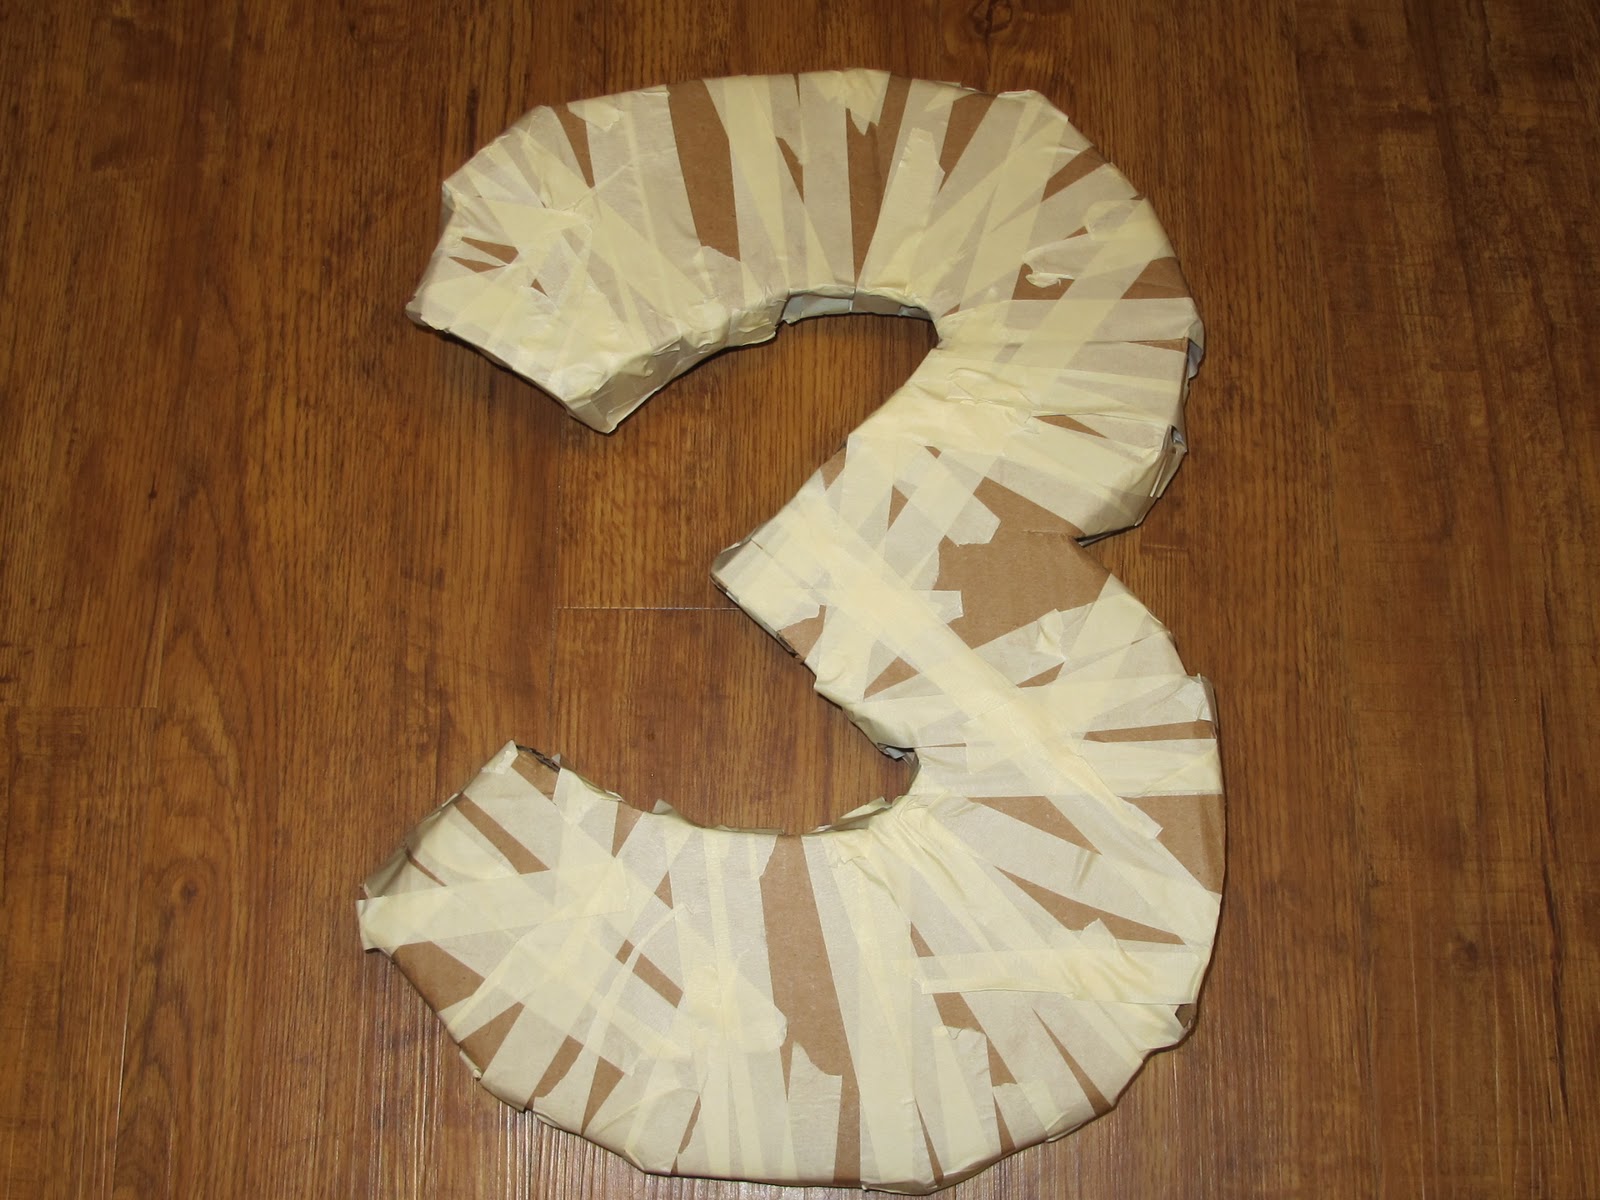
First up, get a cardboard box.
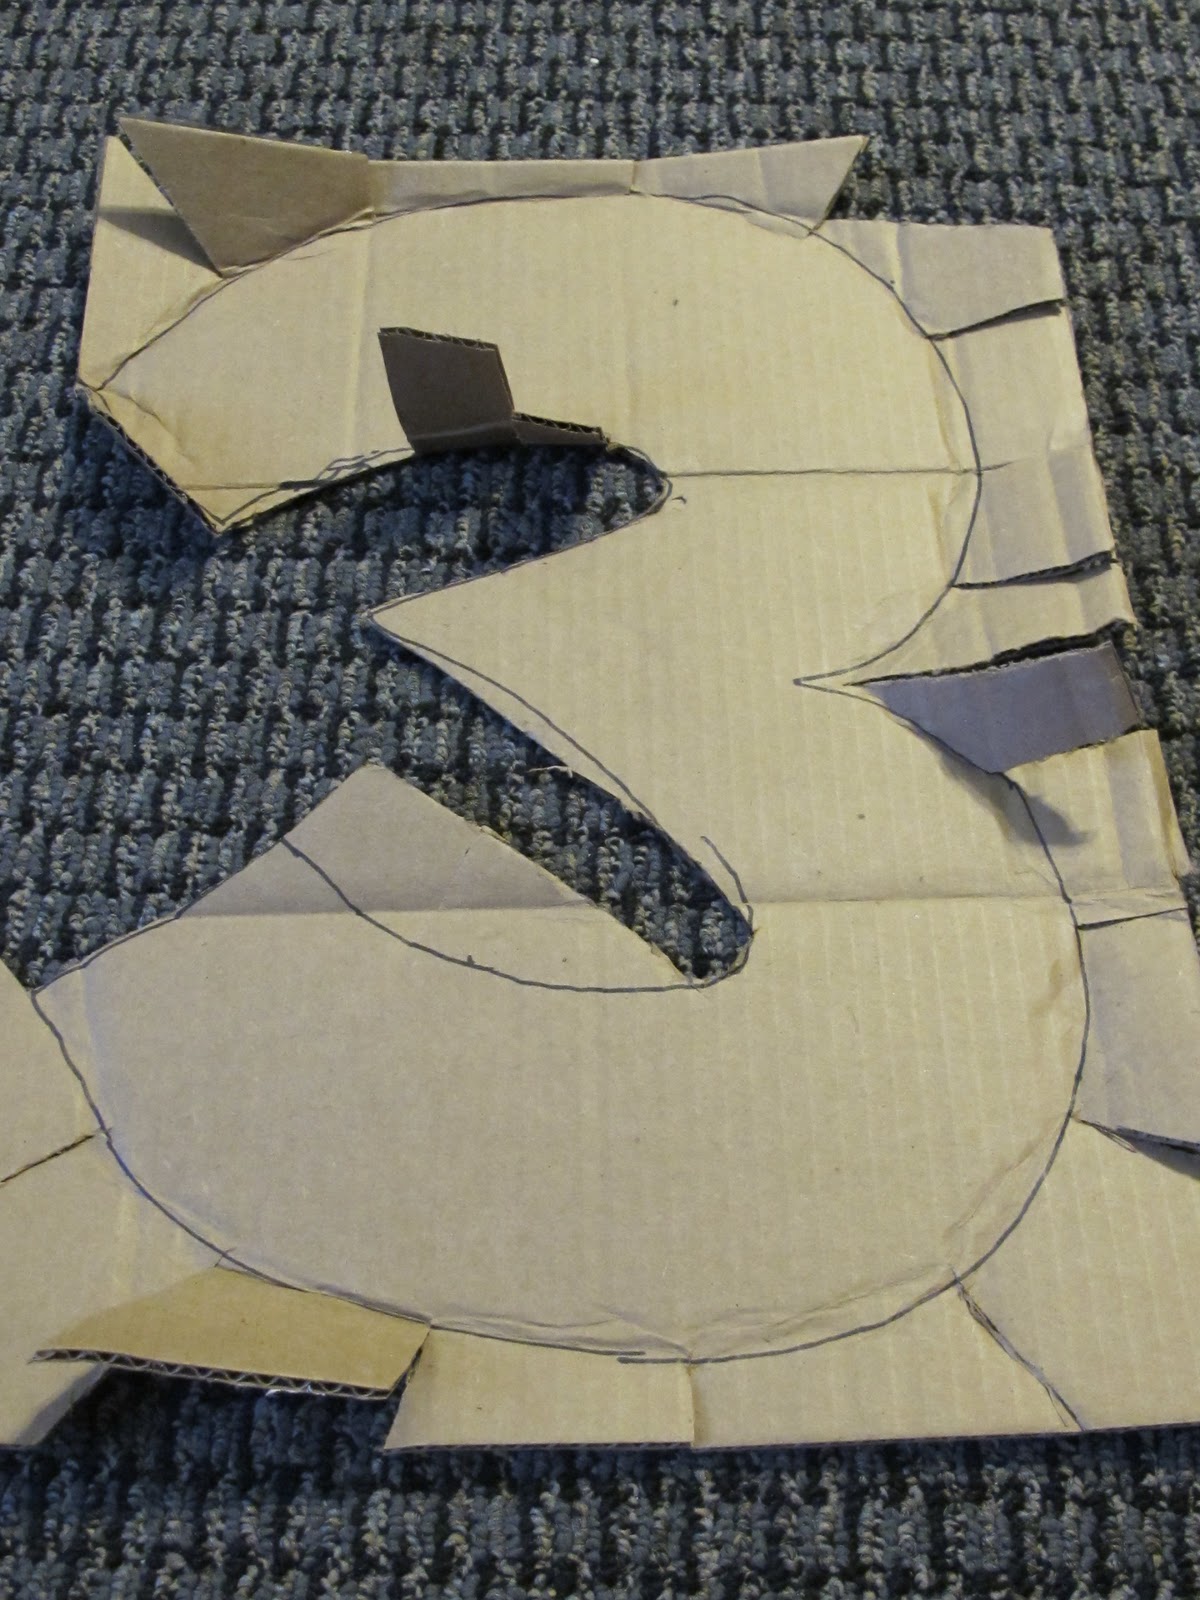
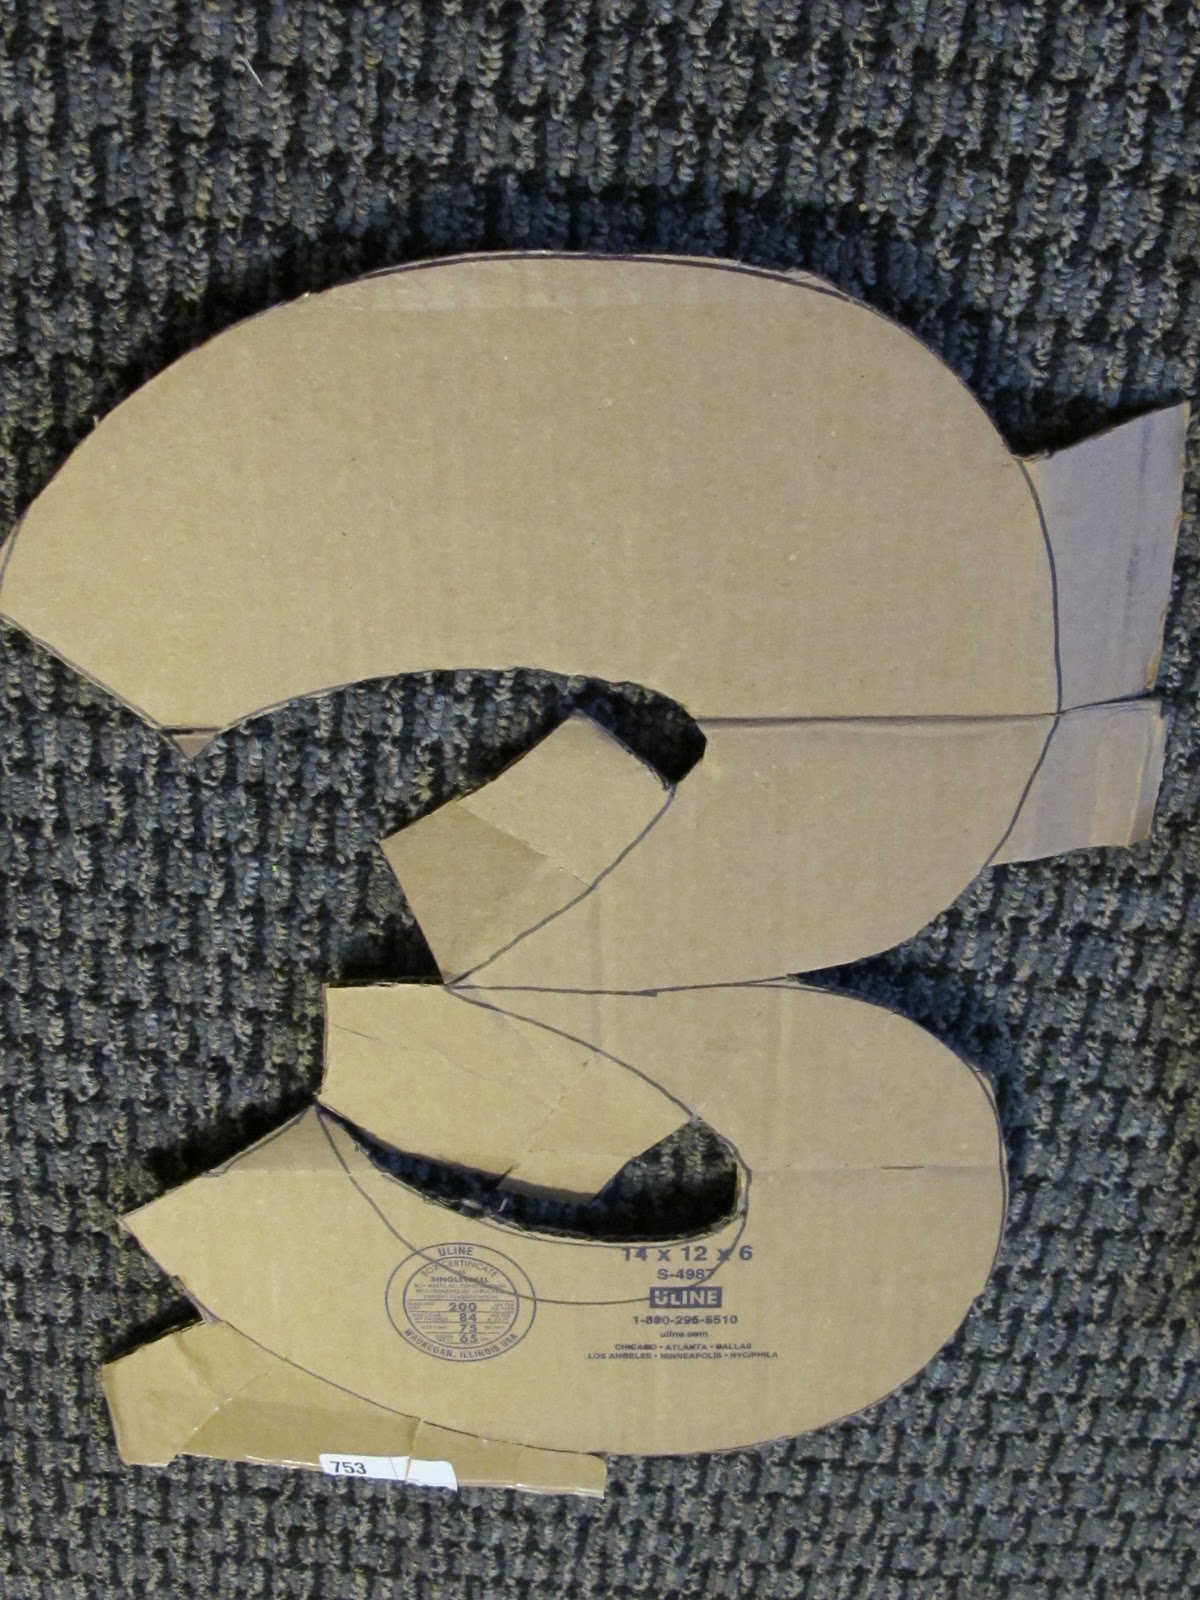
Next, I drew a "3" on two pieces of cardboard. Then, I cut the sides to make "tabs." Note: curves are hard. When I first saw this idea on Pinterest, it was a "1." That would be so much easier. But, I made it work....
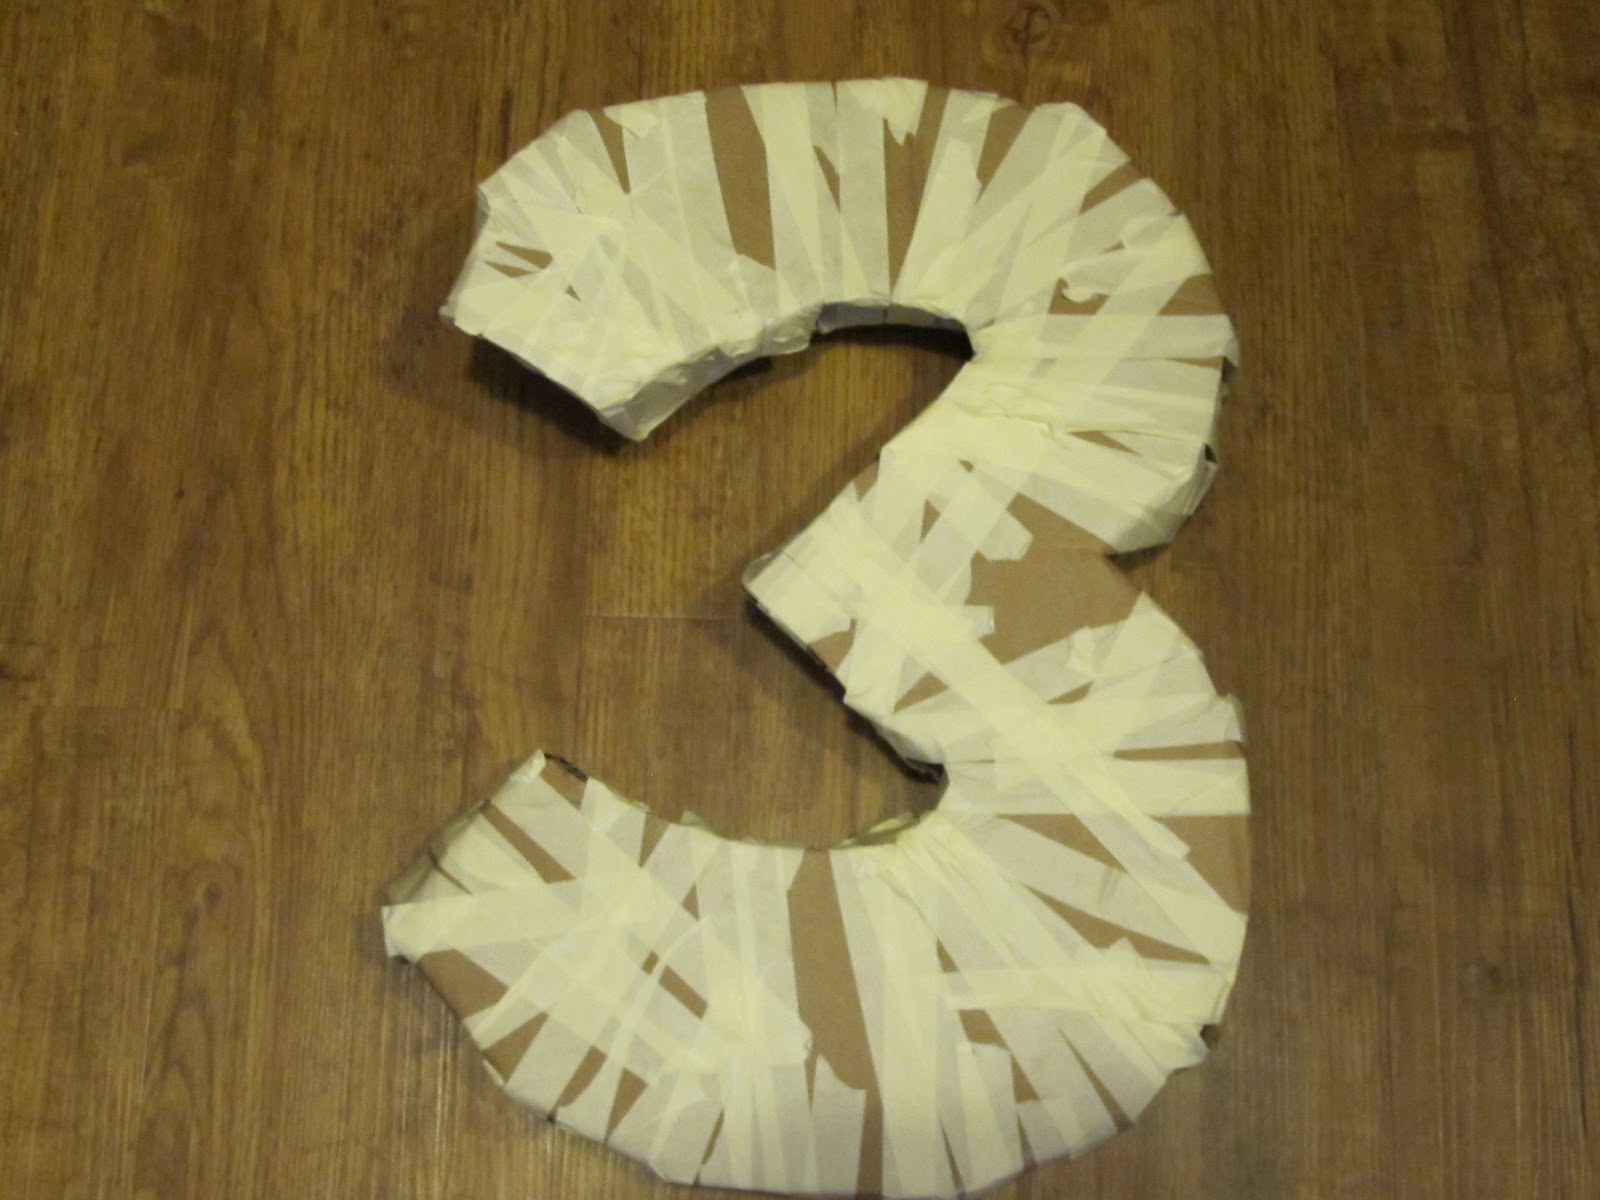
I tucked in all of the tabs and taped it with masking tape. I then taped where there were any holes so the candy wouldn't fall out! I did leave a hole on the side so I could fill it with candy.
I don't have any pictures of this, but I cut long strips of about 2" tissue paper and then cut fringe in them, while folded up so I didn't have to cut each individual piece.
I then glued each piece to the "3," starting at the bottom. I cut the tissue paper to shape it on the curved sides. This step took a long time and I spread it out over a few days. I was getting pretty mad at the tissue paper by Day 3!
When it was finished, I glued random pieces of tissue paper to cover any tape that was exposed. Then, I filled it with candy!!! I covered the hole with clear tape and then the hubby poked holes in the top and strung the rope through it and hung it up.
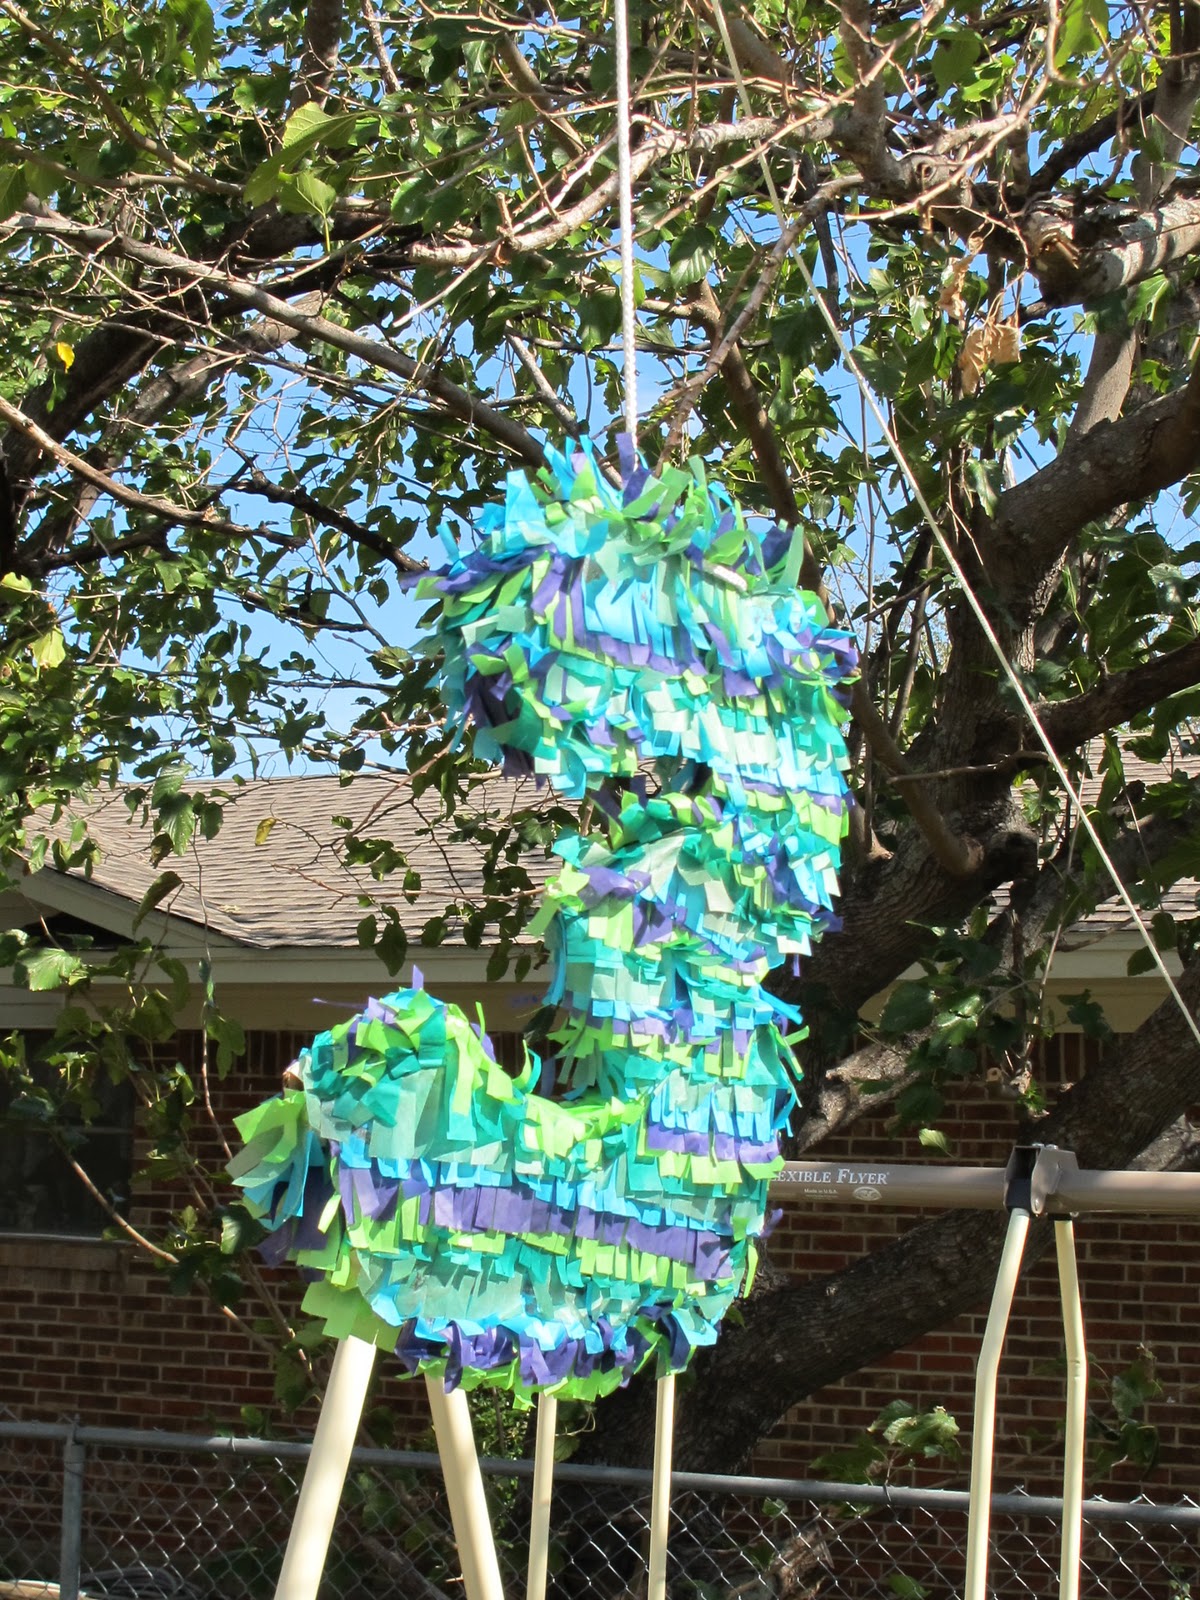
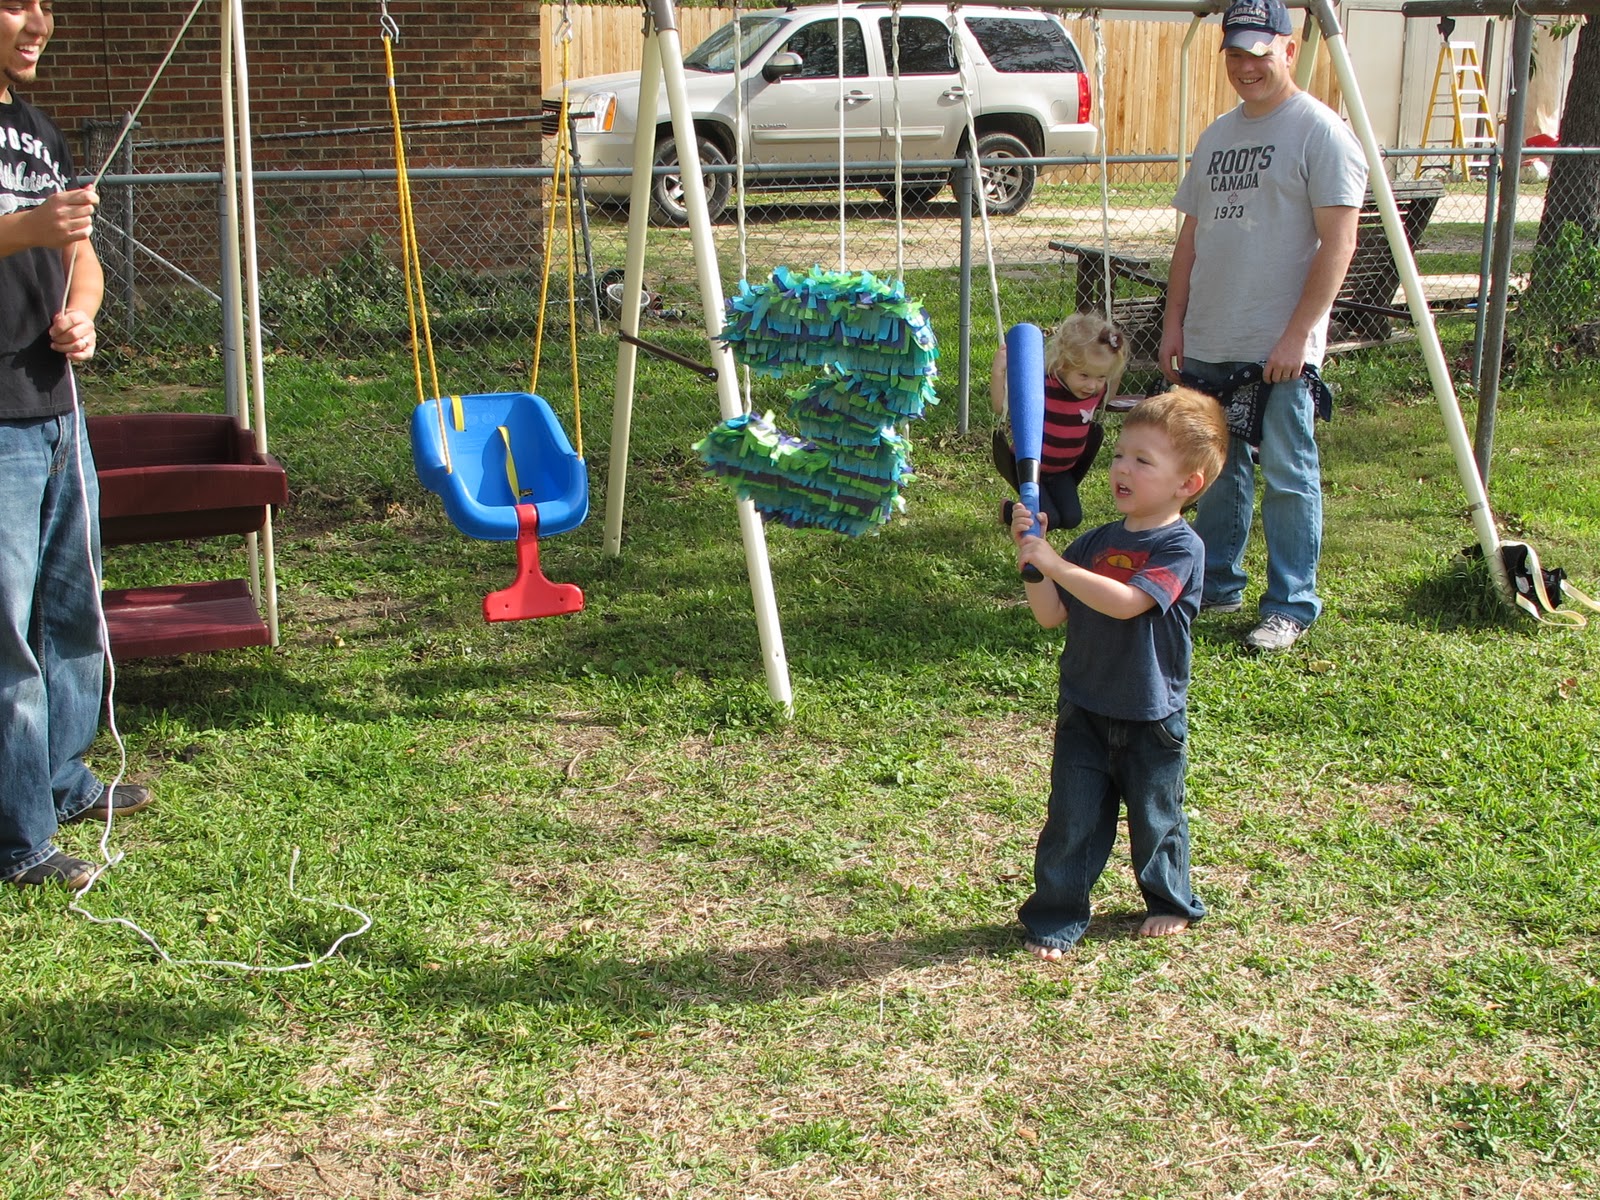
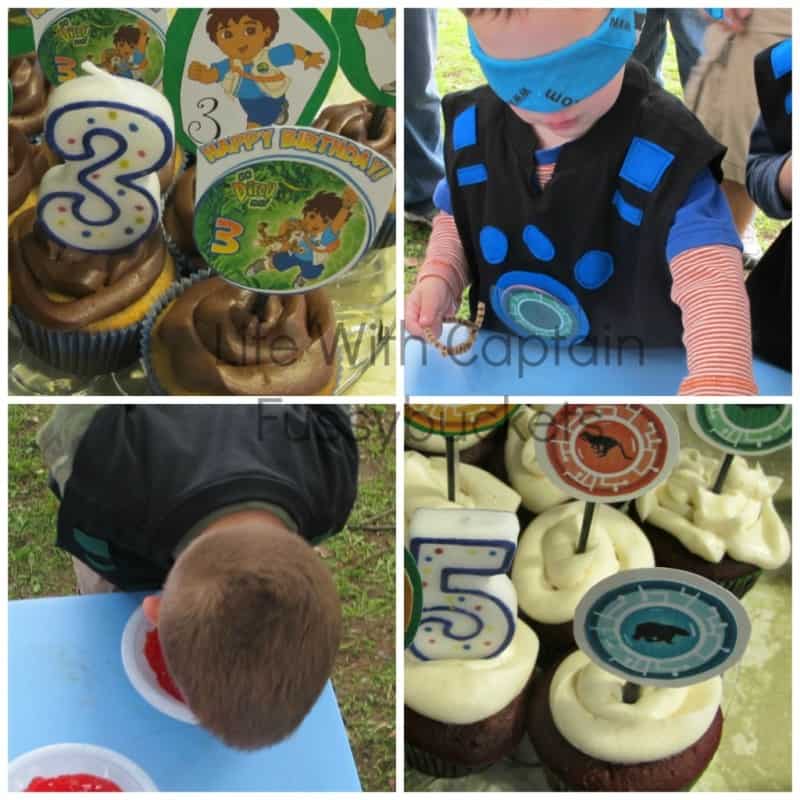
I was pleased with the appearance of the final product, but the 3 year olds could NOT break it. I know you're thinking "of course! You wrapped it in masking tape!" haha! So, we helped out the process a little and it eventually broke and the candy spilled out!
What I learned: Next time, I'm making one out of papier-mâché. :o)
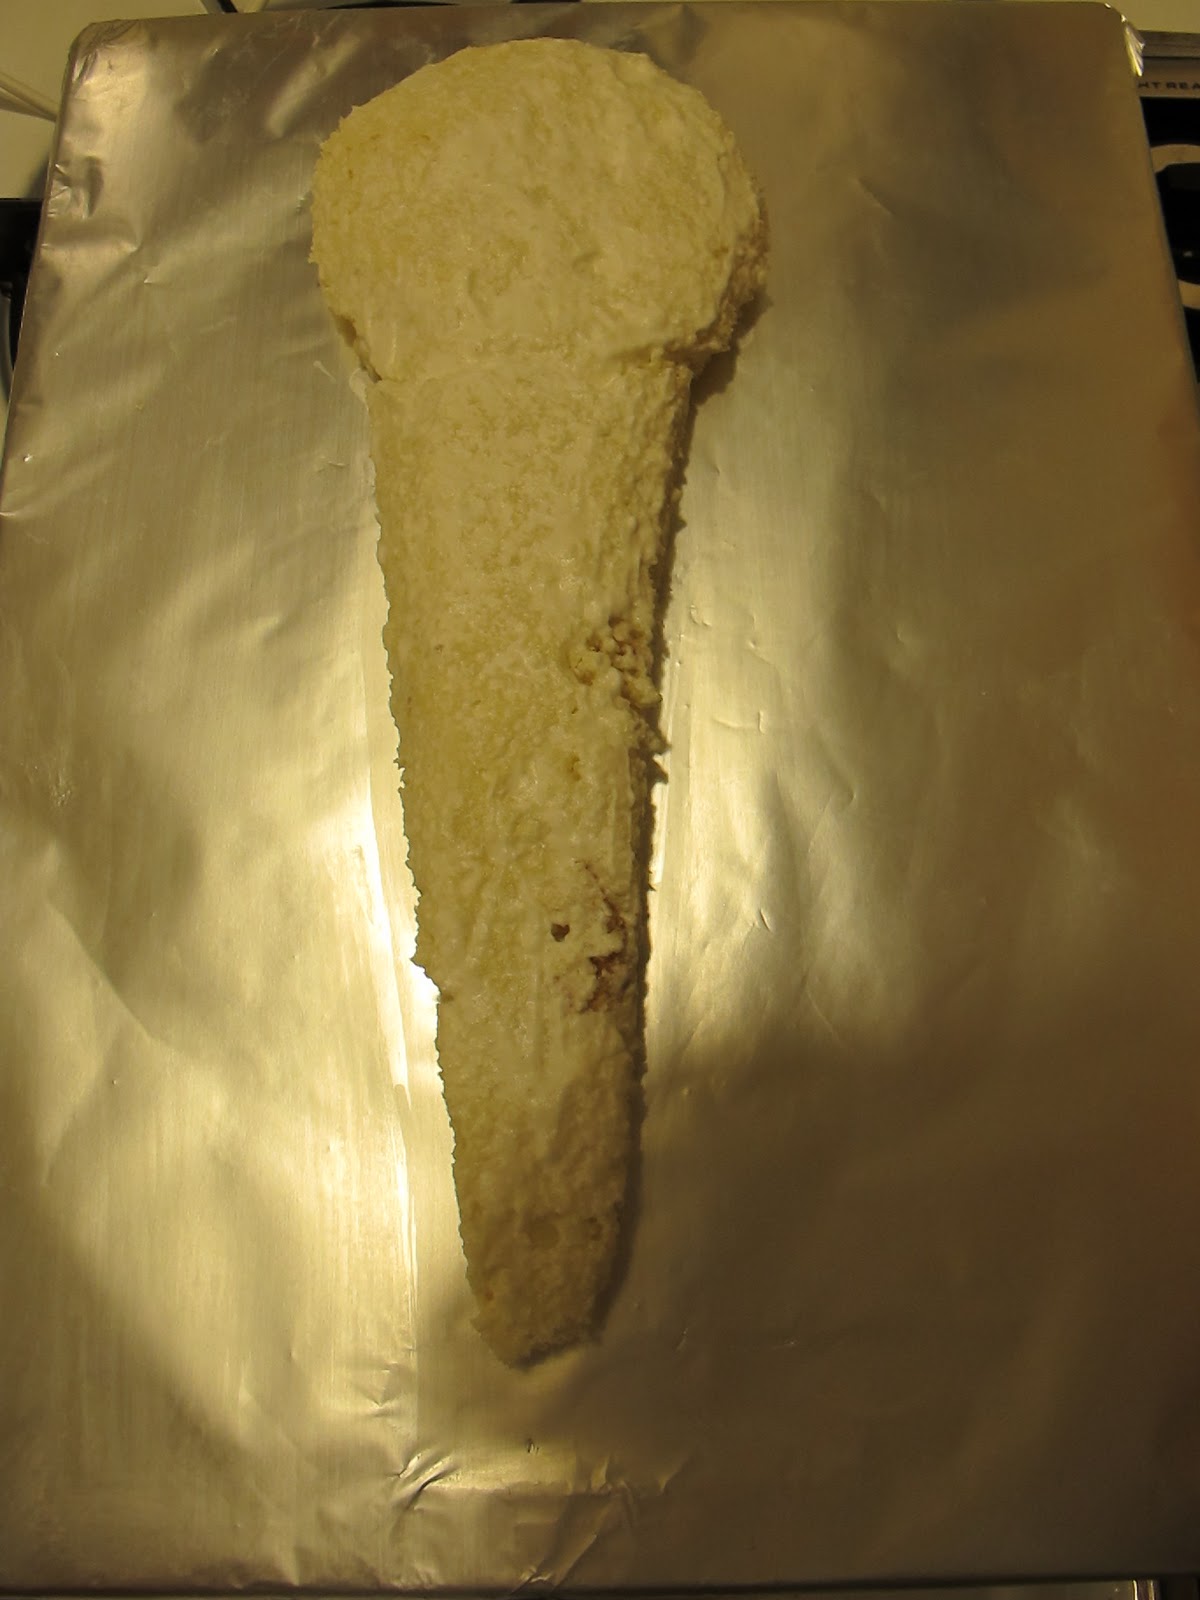
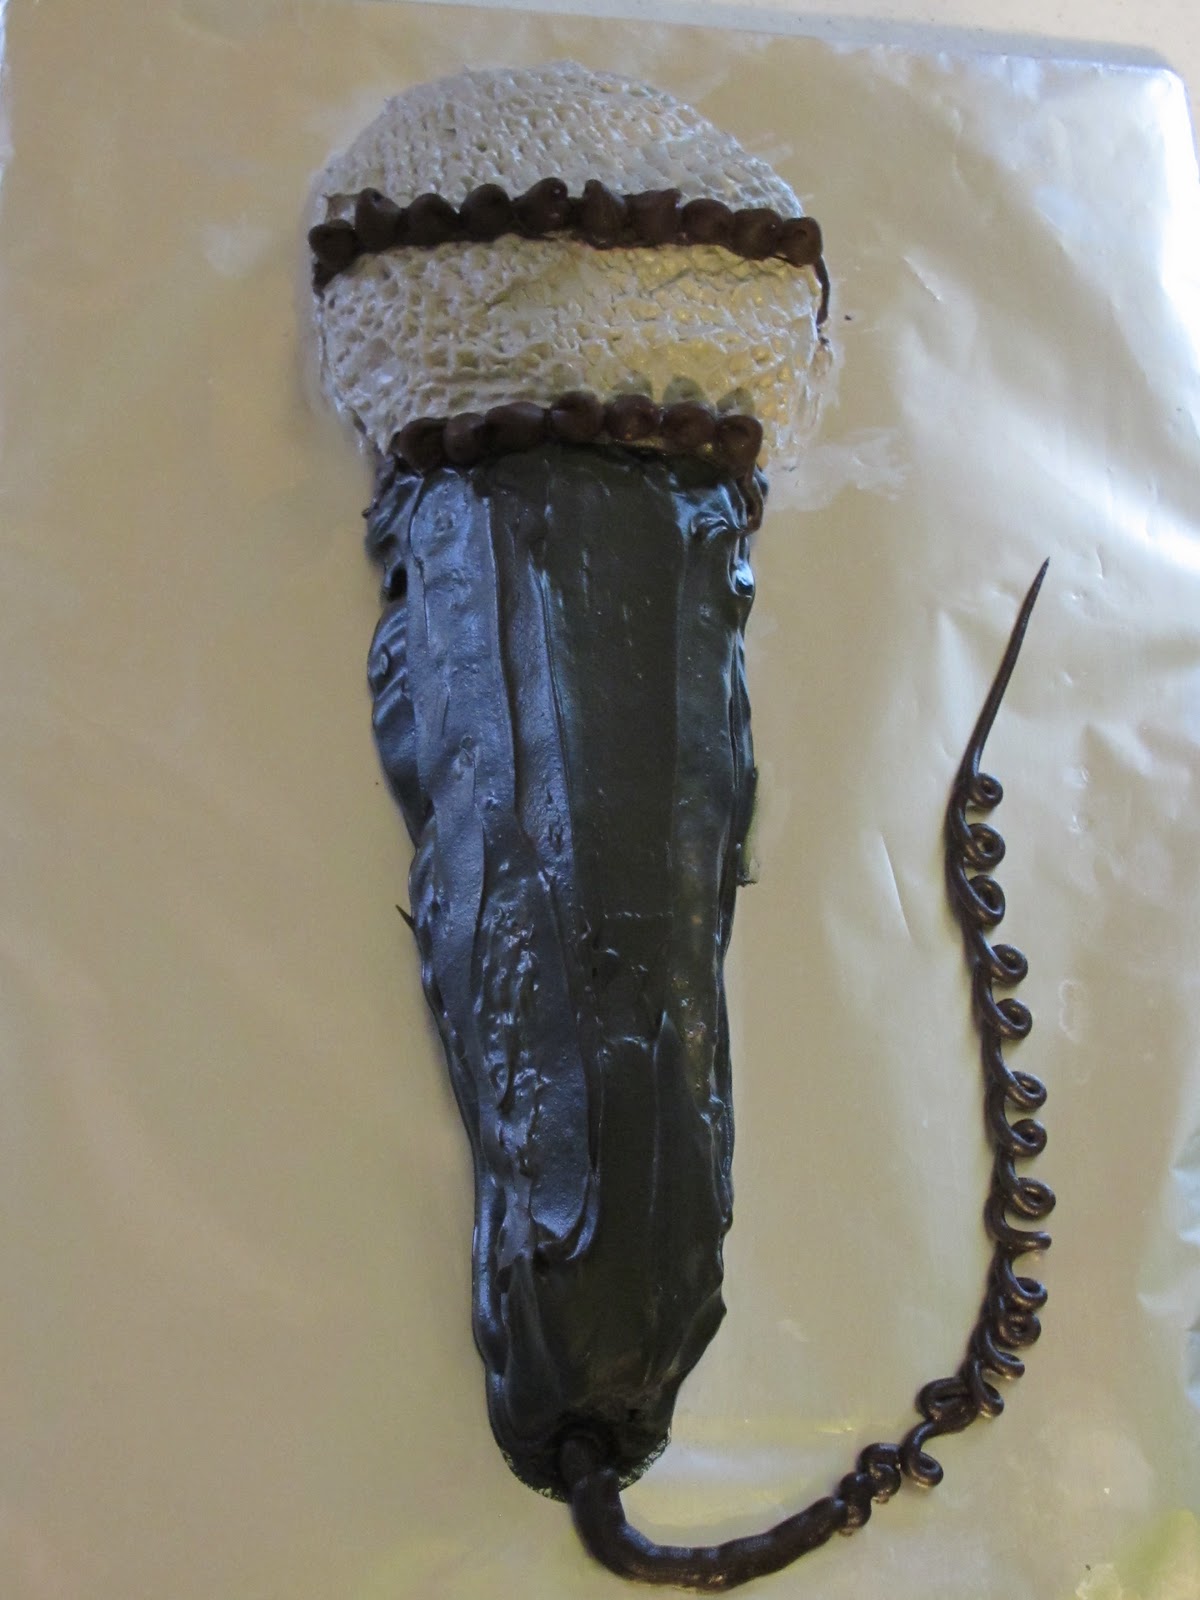
Next up, the microphone cake. Fussybuckets kept saying he wanted a microphone cake, because he loves to sing and loves microphones. Easy enough, I thought, and really, it wasn't that difficult. Sure, it came out looking like a 5 year old made it, but whatever. My 3 year old knew what it was.
First things first: I made the cake and let it cool. Then, my hubby shaped the cake with a cup, knife, and electric knife. If you know my husband, you know that he knows what a microphone looks like because he loves microphones just as much as his son.
After he had shaped the cake, I applied a layer of thinned icing to prevent crumbs from getting in the final icing layer. To do this, all you do is use water to thin a bit of icing and put it on the cake so it sort of "soaks up" the crumbs. Let this dry for at least 30 minutes.
I started with icing the top of the microphone. I made up some gray icing and applied it, then used a meat tenderizer to create the indentations. I think I over "tenderized" it though, because some parts looked pretty sad. Oh, a tip...if you're going to use this method, know that the icing will stick to the metal tenderizer. I used water to keep that from happening much, but maybe someone else would have a better suggestion?
Then I made up the black icing (it took a TON of black food coloring and didn't taste all that good!) and iced the bottom part. Finally, we used the canned black icing (which was NOT black, for the record) and drew a line across the microphone top and just under it. And as a final touch, I added chocolate chips and Daddy drew the microphone wire with the canned icing.
I think it turned out well for a 3 year old. I'm definitely NOT interested in making another cake for a long, long time and truly appreciate cake makers!!!


Well, *I* am impressed. 🙂