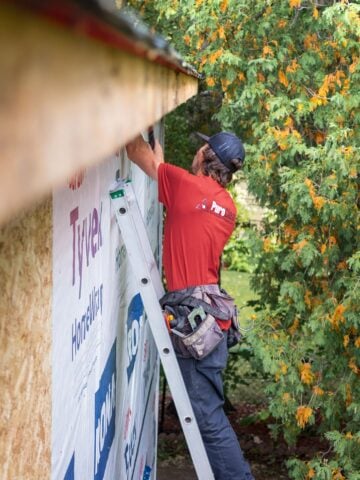
How to Design and Install Outdoor Lighting
Outdoor lighting is one of those projects that pays you back every single evening, not just on the nights you're hosting. It does more than just make your property safer, it turns your garden into an inviting space, somewhere you actually want to spend time in well after dusk.
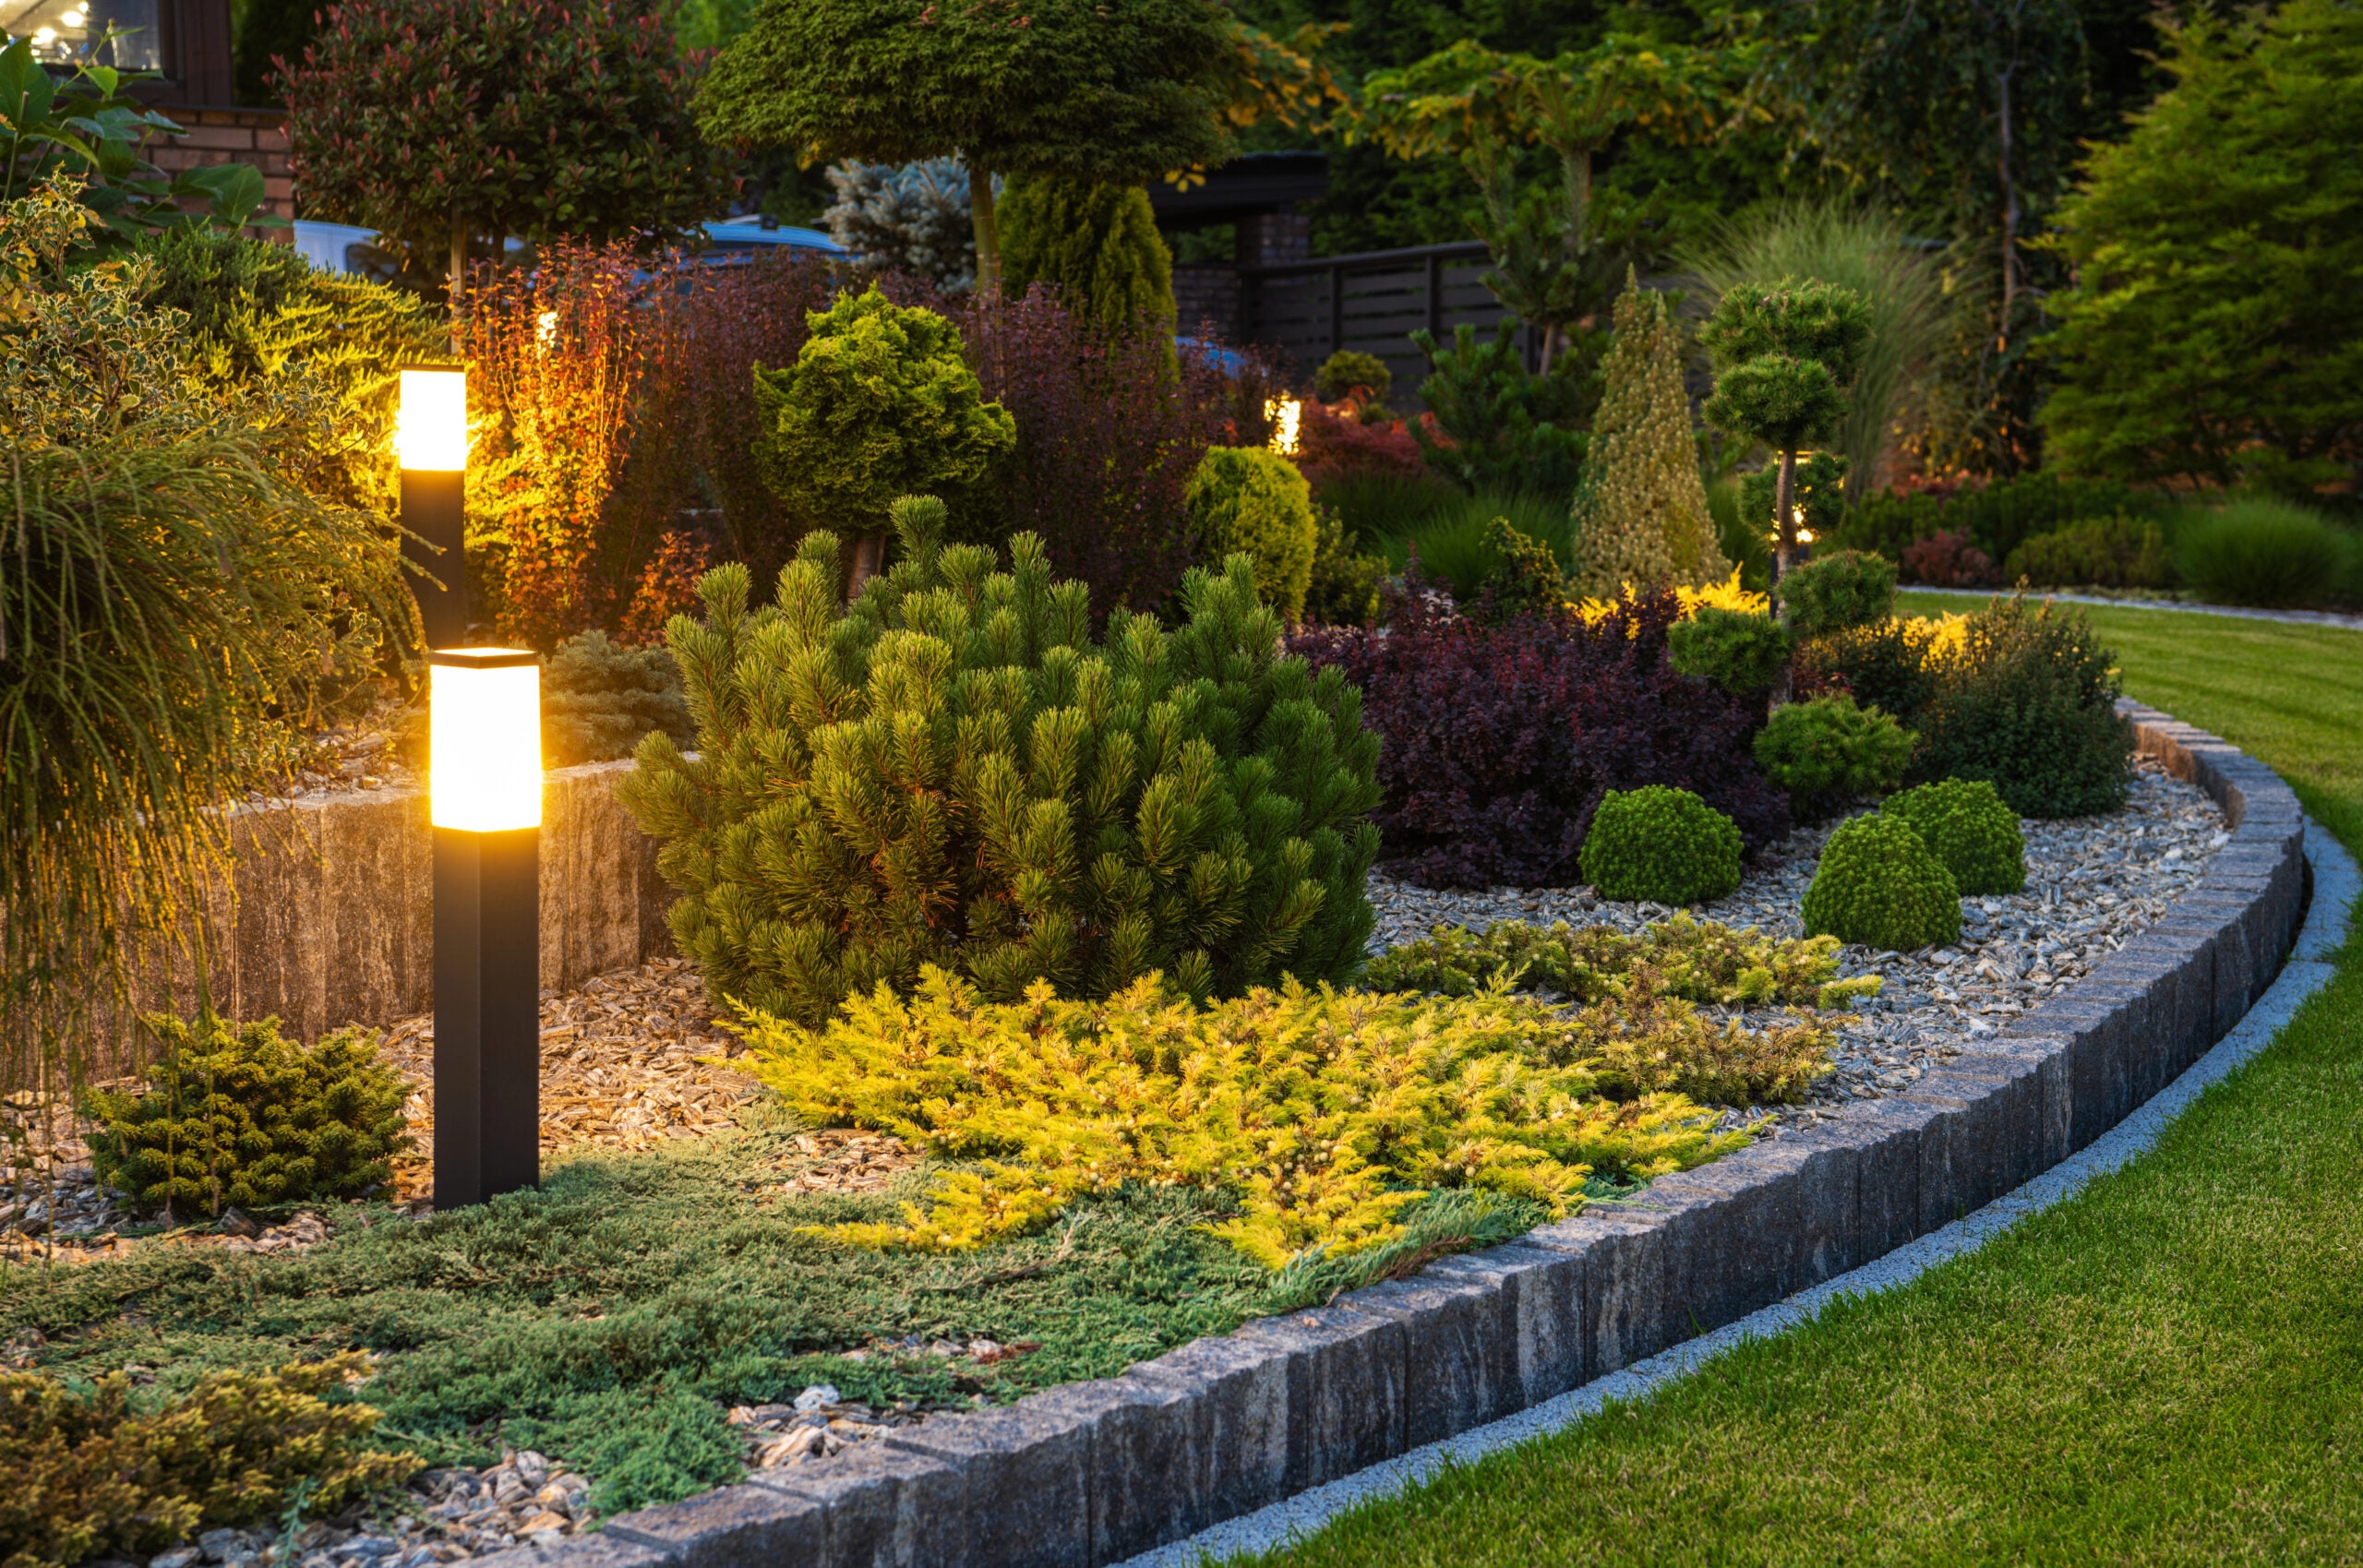
If you've been putting off your outdoor lighting project because it feels overwhelming, or because your only reference point is the harsh floodlight over your neighbor's garage, here's what I have learned.
Start With How You Actually Use Your Space, Not What Looks Good in Photos
Before you buy a single fixture, walk your property after dark with a flashlight and just look around. Where do you actually stand or sit at night? Where do guests park and walk to your door? Is there a step, a slope, a low wall that's a genuine trip hazard once it's dark out?
There is excitement about uplighting your favorite oak tree, but don't neglect the "please stop stubbing your toe on the porch step" problem. Wrong order. Function first, aesthetics second. Once the practical spots are handled, the next part is a lot more fun.
Layer Your Light
Good outdoor lighting is more than just one bright fixture doing all the work. It's a mix, the same way a well-lit living room has overhead light, a lamp, maybe a candle:
- Path lighting guides people safely along walkways and driveways. Low to the ground and evenly spaced.
- Accent lighting is your drama layer. Uplighting a tree, a stone wall, an architectural feature. This is what makes a yard feel intentional after dark, not just visible.
- Task lighting covers where you're actually doing things. The grill. The dining table. Steps up to a deck.
You don't need all three everywhere. A small front yard might just need path lighting and one accent light. A backyard built for entertaining probably wants all three working together.
One more thing worth doing at this stage: sketch it out. Even a rough drawing on the back of an envelope, with arrows for where light needs to fall. This saves you from the classic mistake of buying fixtures first and figuring out placement later.
Choosing Fixtures That Won't Look Dated in a Few Years
It's tempting to grab whatever's cheapest at the hardware store. Within a year, half the fixtures can cloud over, and the finish will peel off in the sun.
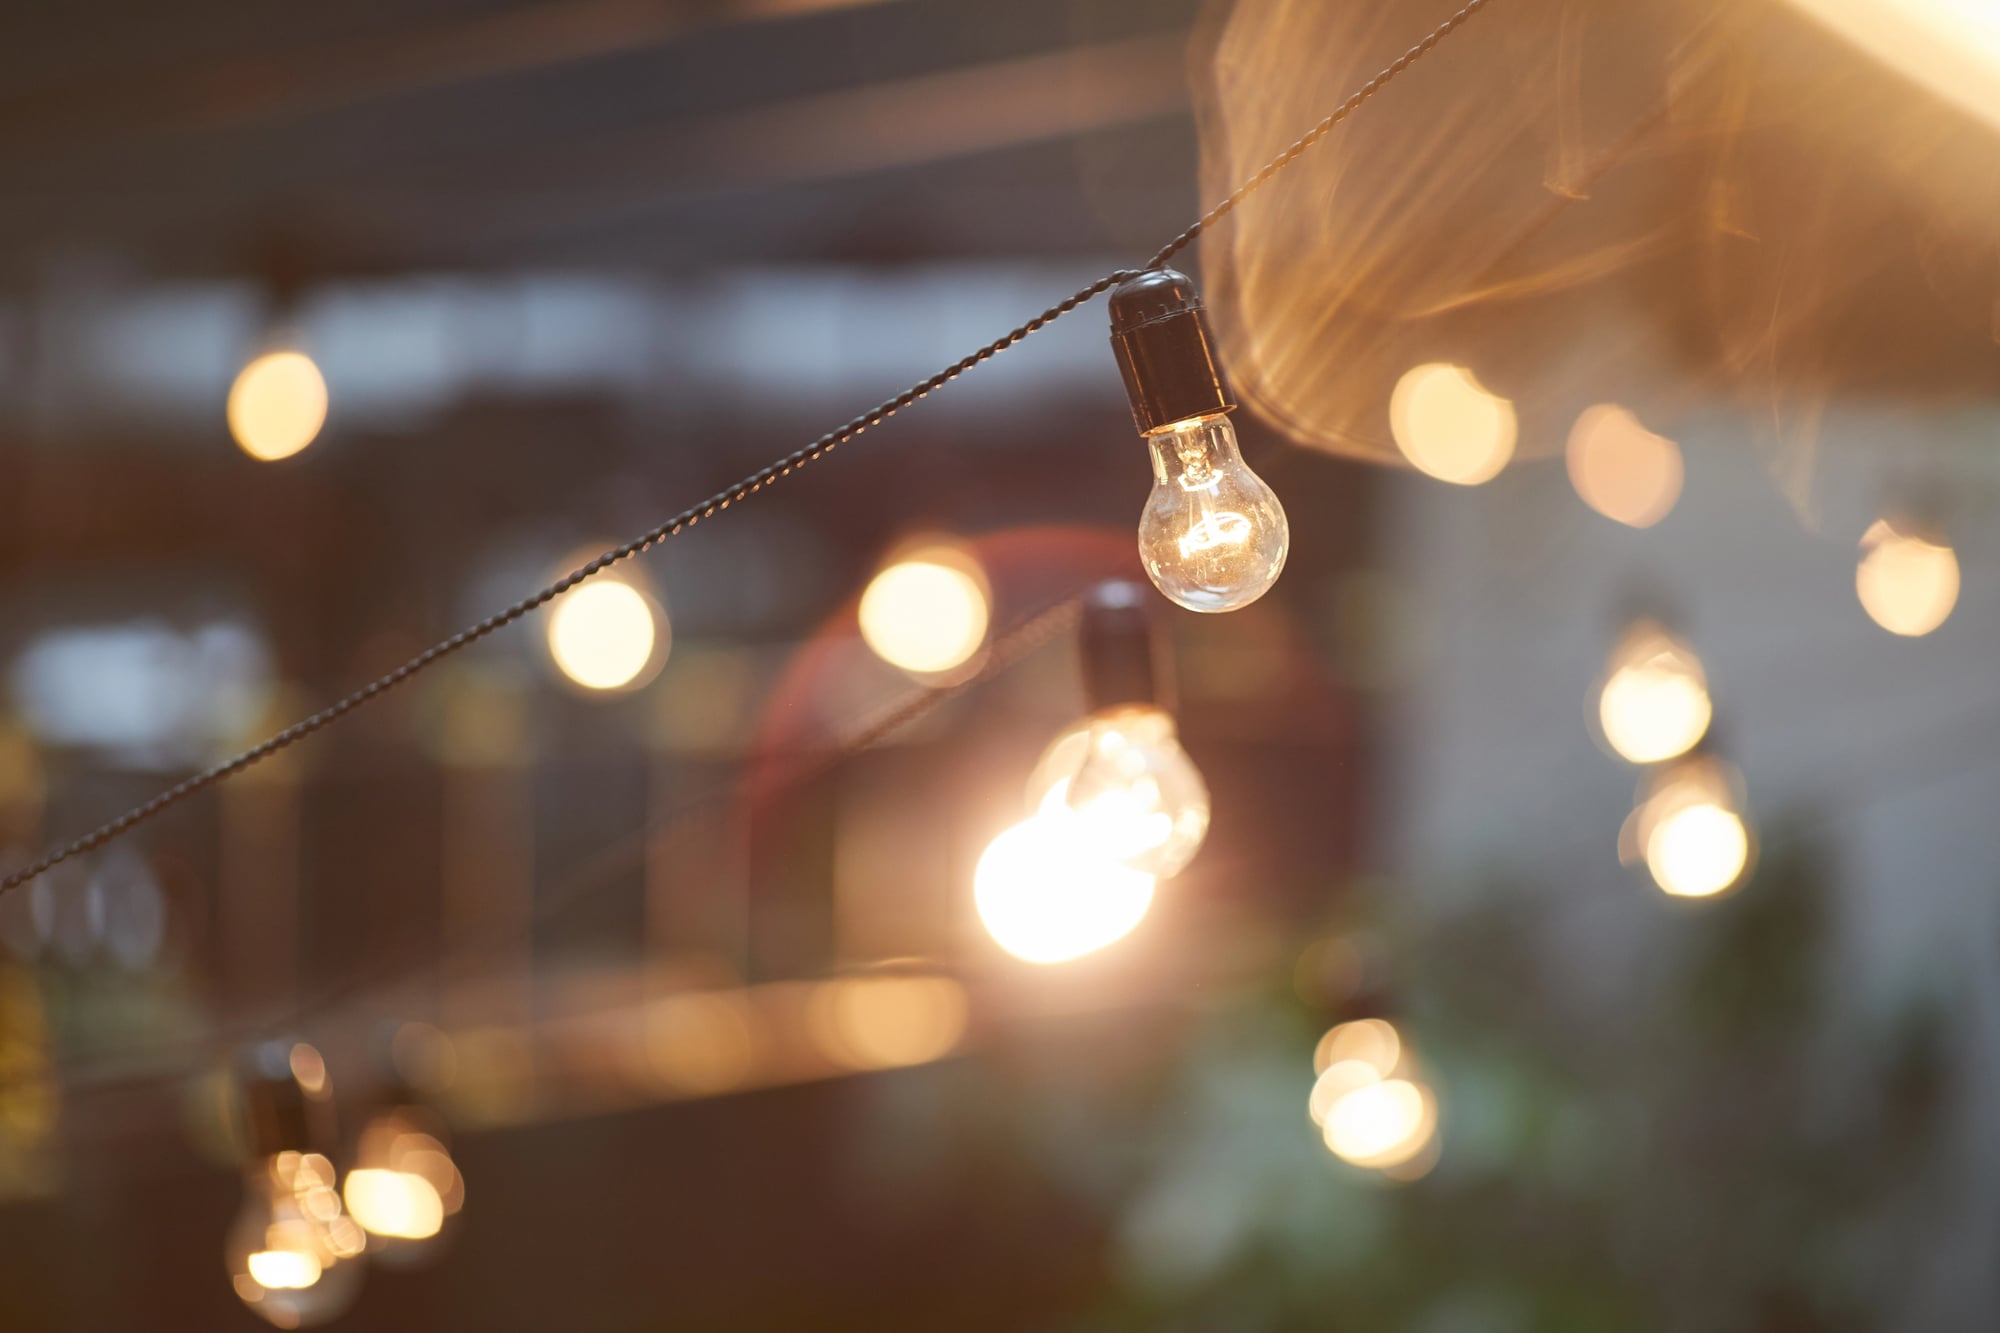
It's worth spending a bit more on solid brass or copper housings, which age into a nice patina instead of rusting. Use warm white bulbs (2700K-3000K) instead of bluish-white ones so the lighting makes your outdoor space inviting. And if you can, opt for a dimmable, low-voltage system, so the mood is adjustable instead of having it all on or all off.
The Wiring Decision Nobody Mentions Upfront
This is the part that trips people up. Stake lights picked up from your local hardware store are usually low-voltage, plug-and-go lighting, which you can do yourself. However, line-voltage (120V) lighting is a different job entirely. It connects to your home's electrical system, usually needs a permit and inspection, and in many areas has to be installed by a licensed electrician.
If your plan is a few path lights and accent lighting scattered through the yard, a low-voltage kit is a reasonable DIY project. But if you intend to create a more complete outdoor lighting system, you'll need a professional electrician.
Quick Outdoor Lighting Installation Checklist
Here's a rundown of what you need to know for the installation process:
- Map out your layout: Mark fixture locations and cable runs before you dig or buy equipment.
- Check power capacity: Calculate total wattage to ensure your transformer can easily handle the load.
- Bury cables safely: Trench low-voltage wiring at least 6 inches deep to avoid damage from yard tools.
- Use weatherproof connectors: Secure all wire connections with gel-filled or waterproof wire nuts.
- Test before burying: Power on the system at dusk to adjust fixture angles and verify connections before covering trenches.
When It's Worth Calling in a Professional
We're big believers in DIY, obviously. But there's a real difference between "I ran some low-voltage path lights along the driveway" and "I'm rewiring something connected to my main panel." That's where it stops being a Saturday project and starts being something you legally have to get done by a certified electrician.
For anything beyond a handful of path lights, like multiple lighting zones, smart controls, or a design that ties the whole yard together, a company like Lighthouse Outdoor Lighting is worth the call. Professional installers also spec transformers and cable runs correctly for your total wattage, which is the single most common DIY mistake made.
Undersize the transformer and it overheats. Run the cable too far, and the last few fixtures fade out. Crank the voltage up to compensate, and you shorten the life of every bulb on the line.
Living With It
Once it's in, give yourself a week of actually sitting outside in the evening before deciding it's "done." Your eye adjusts. What felt too dim on night one might feel exactly right by night five. If you hire a professional, they usually get it right the first time. But if you're planning a DIY project, it may mean moving some placement around and switching up a few things over the first couple of weeks until it feels just right.