Fall Washi Tape Jars - Cute DIY Using Upcycled Yogurt Jars
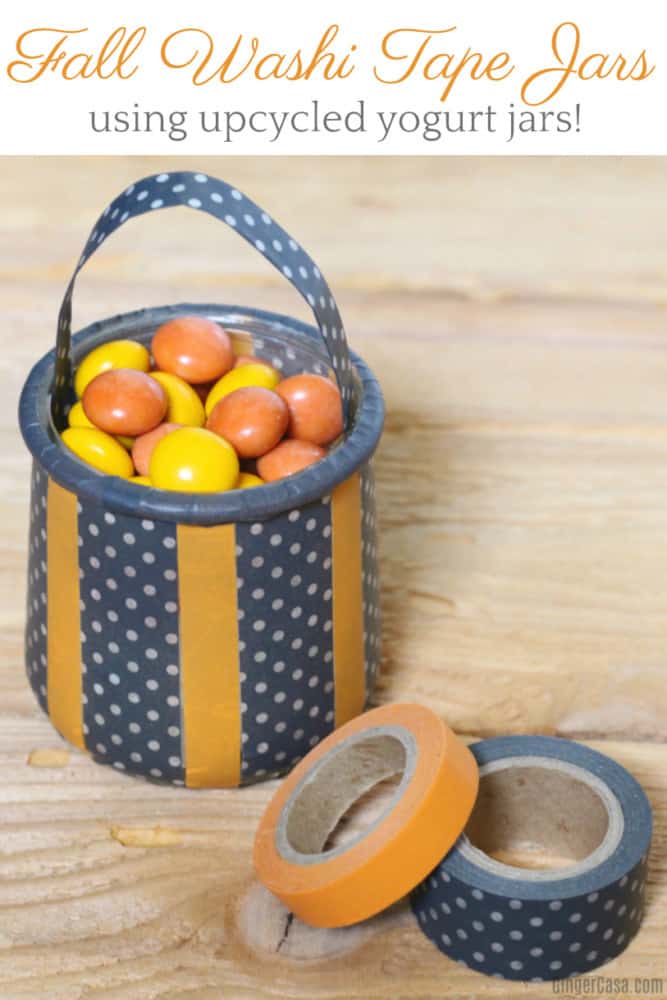
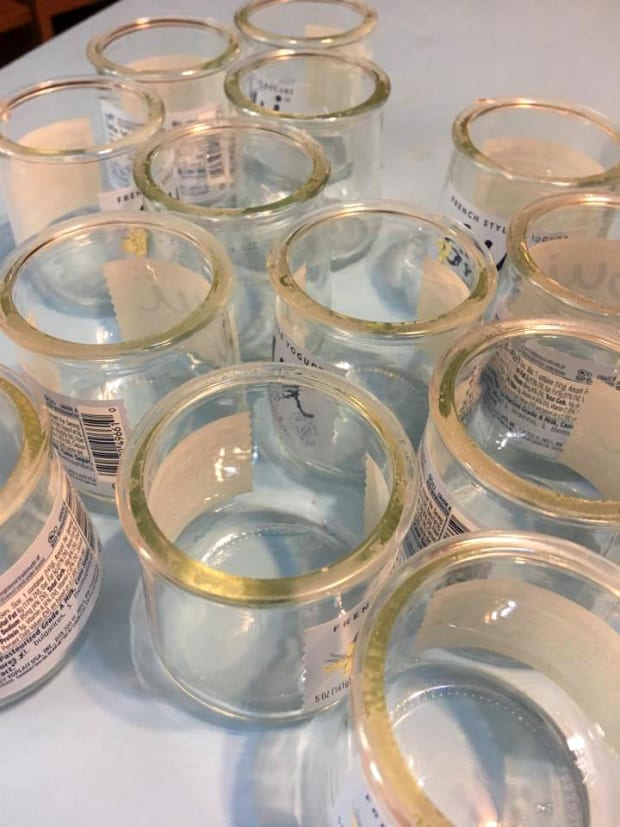
Yes, here I am again with a craft using these adorable yogurt jars! They really are the perfect size for so many crafts! The first thought I had when I bought Oui yogurt is that they look like little cauldrons. They come with a foil lid so they're technically not jars, but pots, but they have so many uses! This adorable Fall Washi Tape Jars craft is perfect!
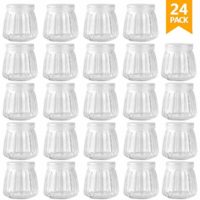
I started stockpiling my Out yogurt jars and I ate so much that I quickly had plenty for many crafts! My mind was blown at a yogurt that came in a glass jar. Would it be awesome if we could replace all of our plastics with glass and then reuse or recycle everything? One day!
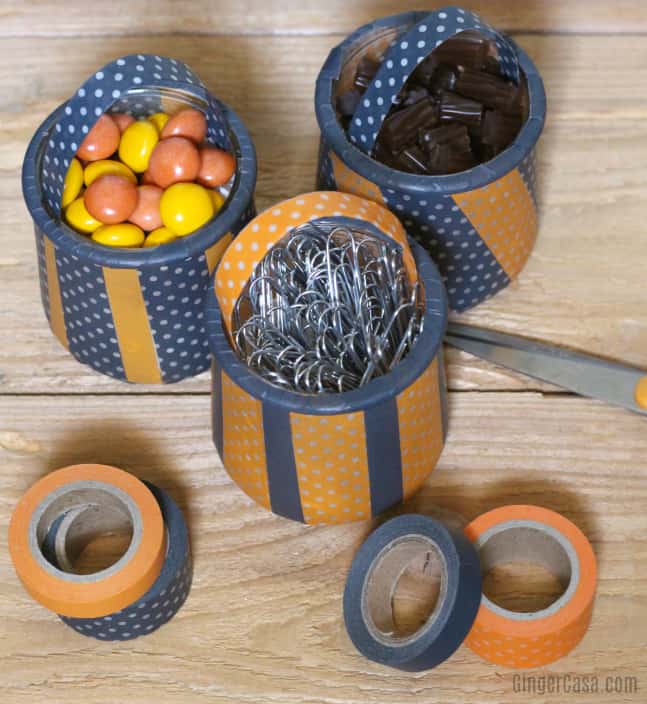
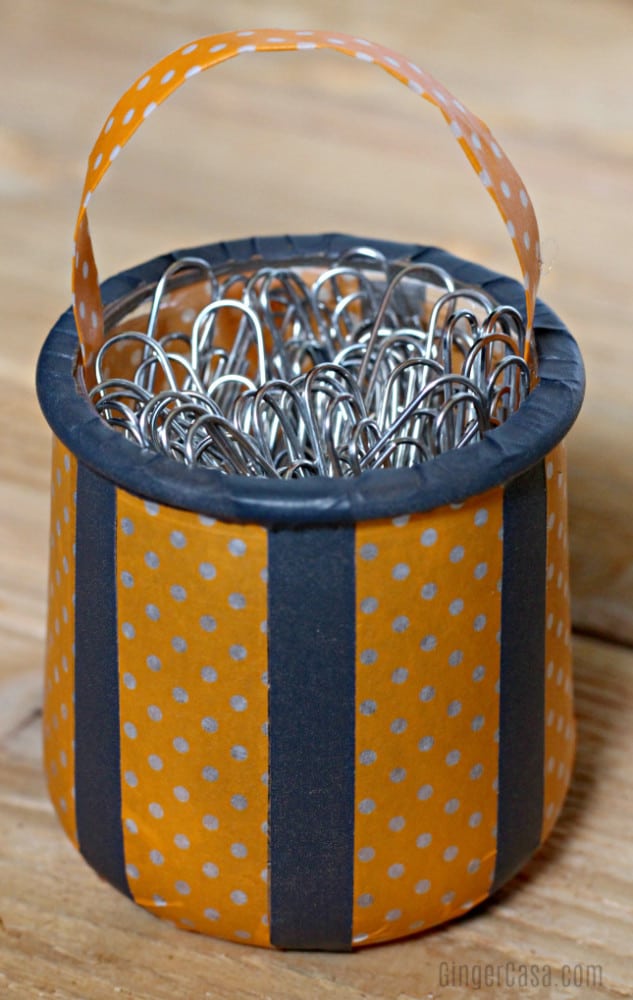
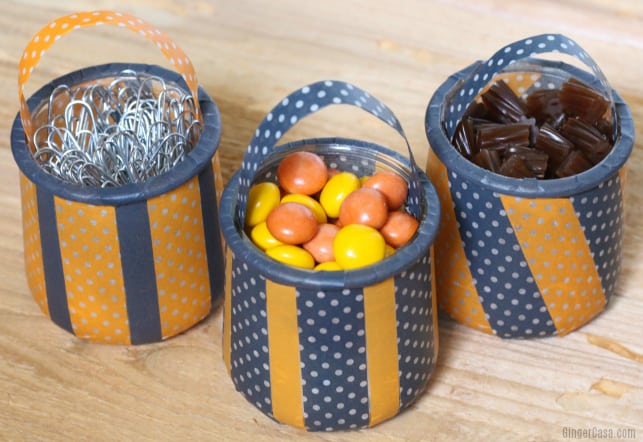
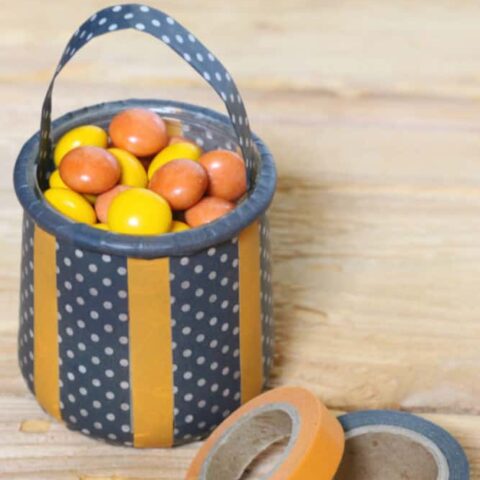
These little jars are the perfect size for holding littles things like candy, crayons, toothpicks, office supplies, etc. A teacher could add some fall feel to her desk and keep it organized at the same time. They would be great for treat jars or home decor. I added some cute little candies to mine, as well as paper clips in one jar because we are always needing paper clips and cannot find them!
Fall Washi Tape Jars
This would be a great craft for older kids who have better fine motor skills. Think late elementary, preteen craft!
Teachers would love these cute little washi tape fall jars for storage!
Fall Washi Tape Jars - Cute DIY Using Upcycled Yogurt Jars
Make these cute Fall washi tape jars!
Materials
- Oui yogurt jars, washed and dried or other small glass jars
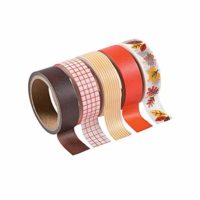
- washi tape in different fall colors
Tools
- hot glue
- scissors
Instructions
- Remove label, if desired, from yogurt jar. It’s not absolutely necessary, but it does provide a cleaner look when you apply the washi tape.
- Decide your design and cut a piece of washi tape.
- Carefully stick it to the jar, pressing down firmly as you go. (Because of the shape of the jar, it will be hard to not have any wrinkles.)
- Alternate colors of washi tape until the entire jar is covered.
- Use a long strip of washi tape on the rim of the jar, pressing down firmly.
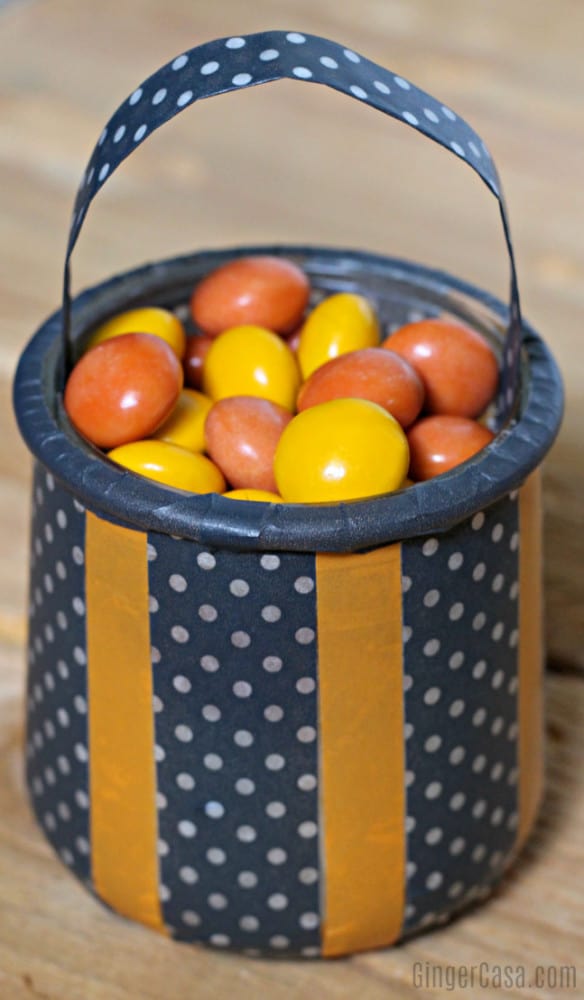
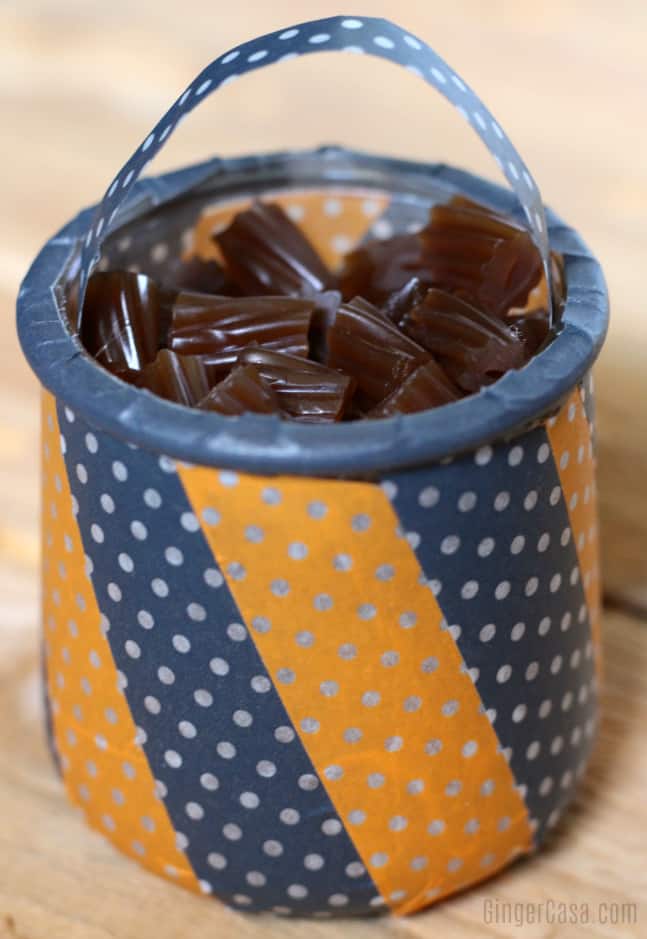
- Cut a strip of washi tape and fold it over for the handle.
- Secure the washi tape handle with hot glue on both ends.
- Fill jars and enjoy the cuteness!
Recommended Products
As an Amazon Associate and member of other affiliate programs, I earn from qualifying purchases.