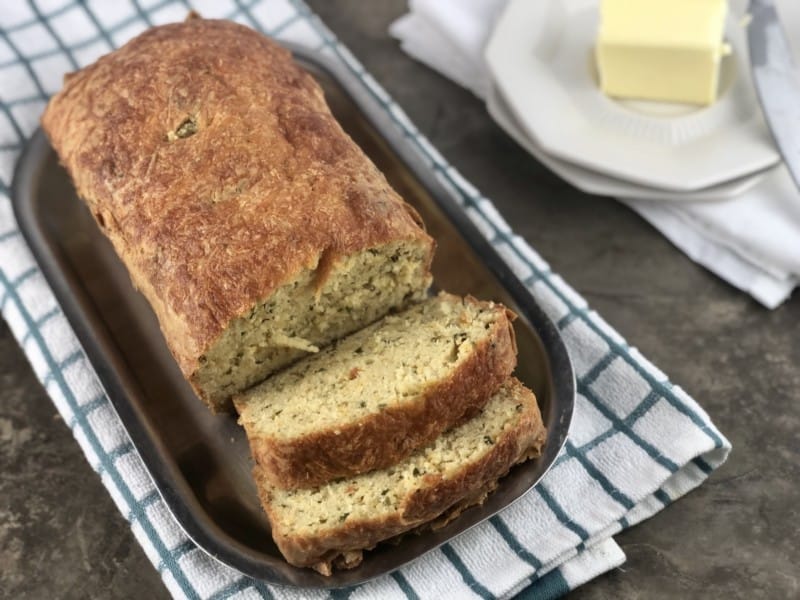
Keto Garlic Cheese Herb Bread - Keto Bread The Whole Family Will Love!
Today I bring you this delicious recipe for keto garlic cheese herb bread.
This would be delicious as a sandwich or along side Keto Meatball Casserole Parmesan, Keto Alfredo Sauce and Zoodles, Whole30 Chicken, Keto Meatloaf, or just by itself with a big smear of butter! Add in some low-carb desserts and you're set!
I am sure you have heard about the new Keto diet craze. Someone described it as "Atkins on steroids" and it has many people singing it's praises. If you have seen the Netflix documentary "The Magic Pill," you know how helpful it can be for some people. Fat is great for our brains, for sure! But what about keto bread? Is that a thing?
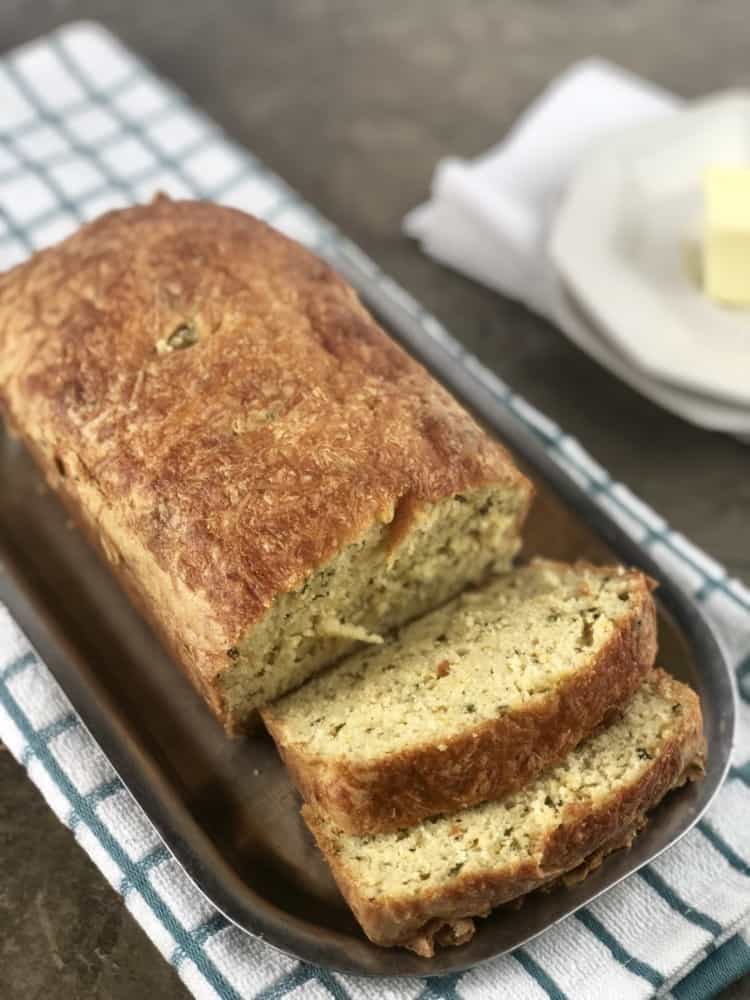
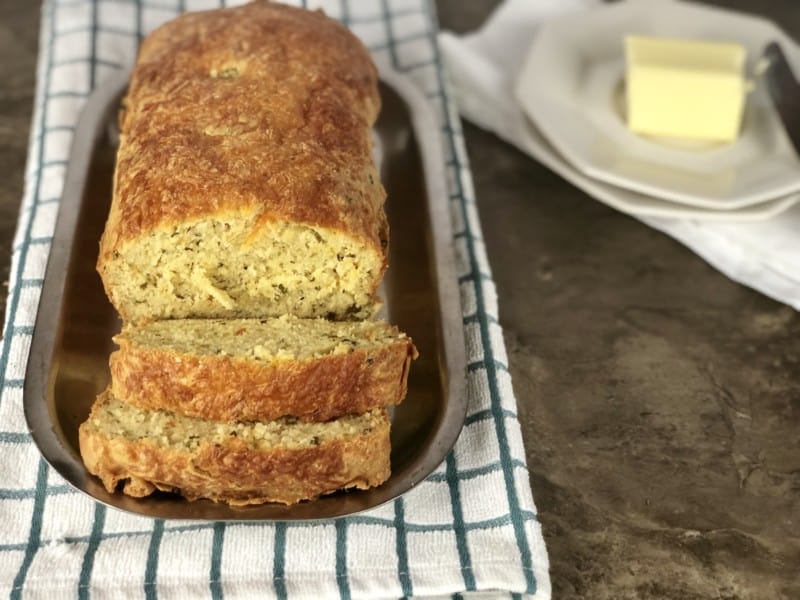
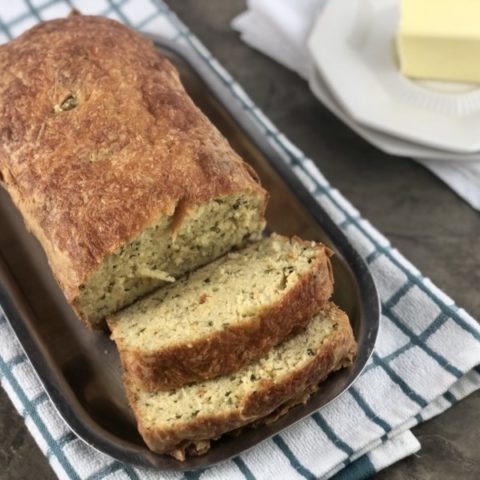
This is proof that you can have bread while being on a keto diet. Eating the whole loaf probably isn't the best idea, but hey, I won't judge! This keto garlic cheese bread is incredibly delicious.
Keto Garlic Herb Cheese Bread
The perfect keto bread for your diet! Keto garlic herb cheese bread is so delicious and satisfying!
Ingredients
- ½ cup butter, softened
- 6 eggs
- 1 teaspoon gluten free baking powder
- 2 cups almond flour
- ½ teaspoon xantham gum
- ½ teaspoon salt
- 1 cup cheddar cheese or cheese blend, shredded
- 2 tablespoon garlic powder
- 1 tablespoon parsley flakes
- ½ tablespoon oregano flakes
Instructions
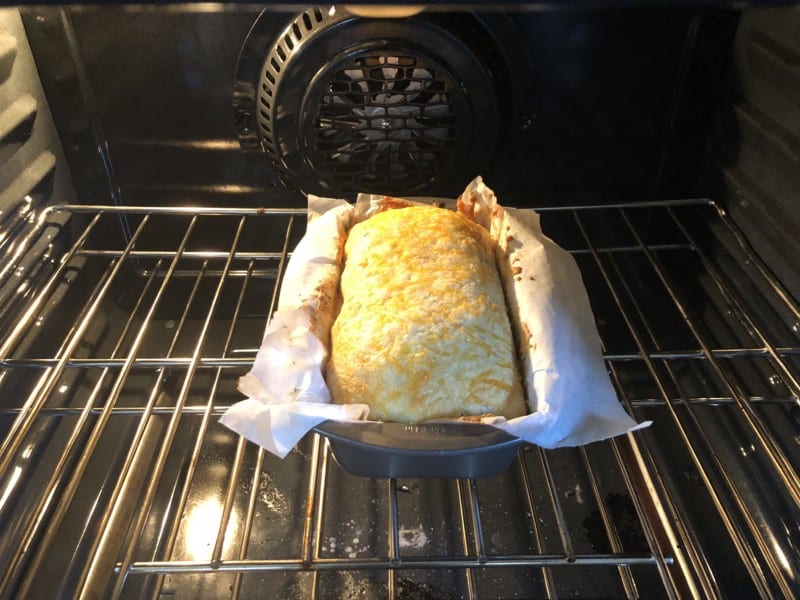
- Preheat oven to 355 degrees.
- Line loaf pan with a baking parchment paper.
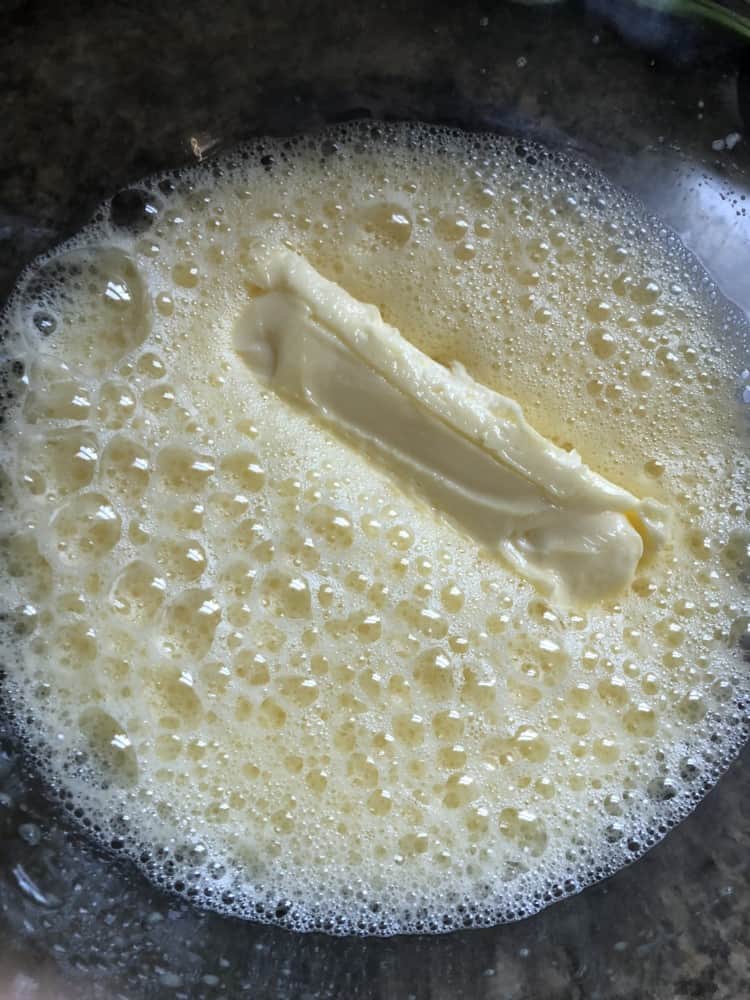
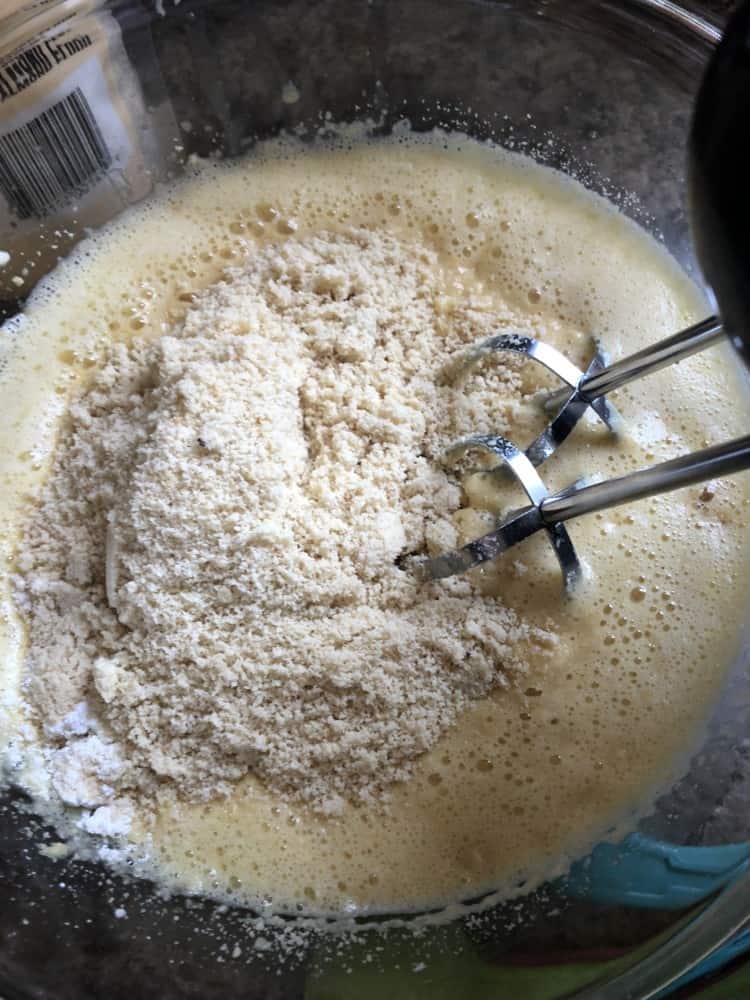
- Break the eggs into a bowl and beat until frothy.
- Add softened butter to the eggs and mix well.
- Add baking powder, salt, xantham gum and almond flour in small batches, mixing in between
- Blend well. (the mixture will get thick)
- Add in cheese, parsley, garlic and oregano.
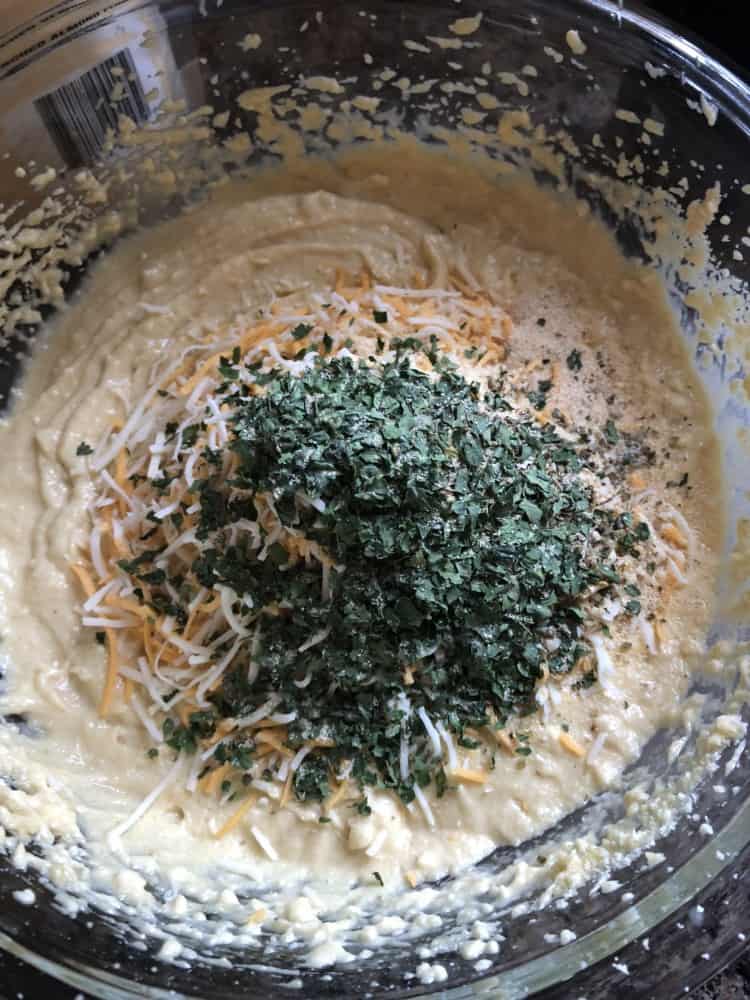
- Mix well
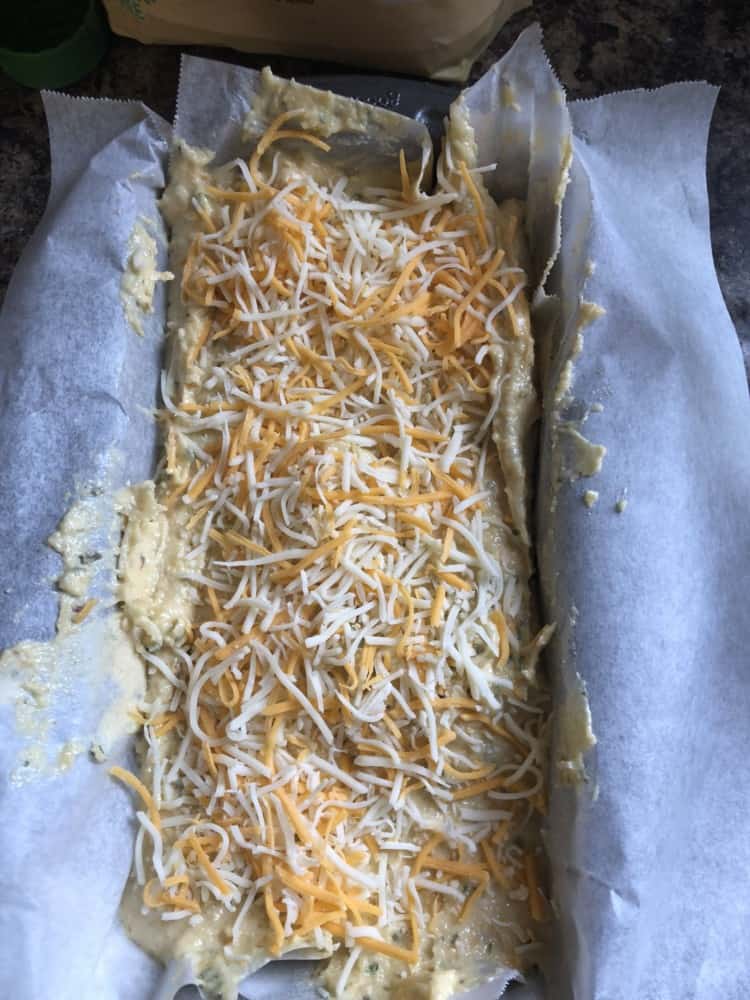
- Pour into the loaf pan lined with parchment paper.

- Sprinkle more cheese on top, if desired.
- Bake for about 45 minutes or until an inserted toothpick comes out clean.
- Allow to cool before slicing.