
DIY Succulent Planters - Another Way to Repurpose Glass Yogurt Jars!
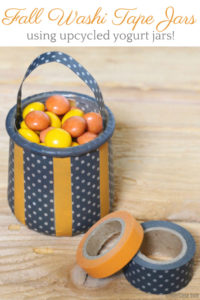
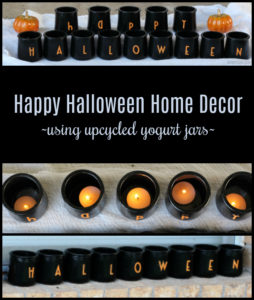
While my love for Oui yogurt has had to slow down (I've switched to better for you nonfat Greek yogurt,) I still pick up those cute little glass jars as a treat from time to time. Remember how I repurposed glass yogurt jars for Fall and Halloween? I even made mini peanut butter pudding pies in them! They are not only adorable, but can serve many functions!
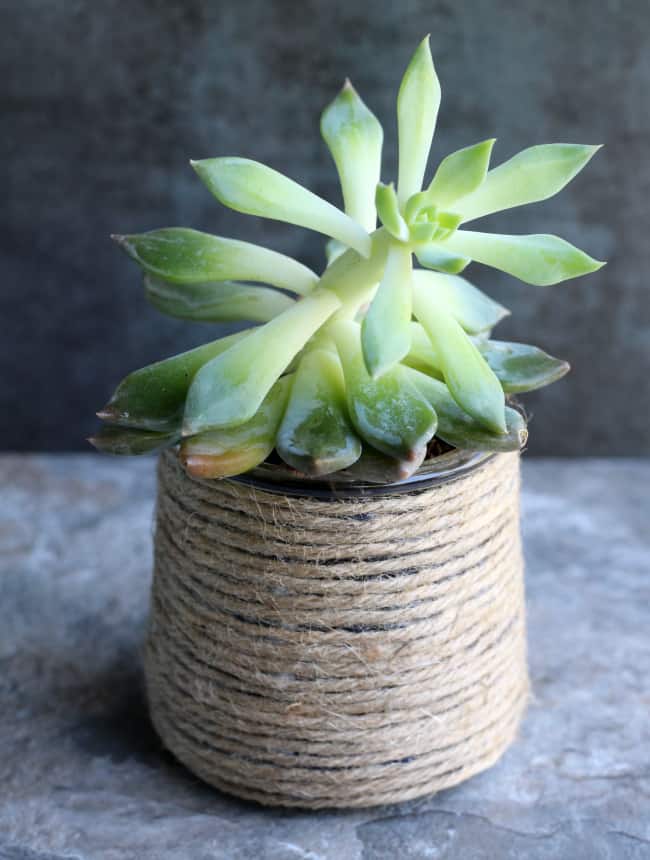
With Teacher Appreciation Day and Mother's Day in May, I made these cute DIY succulent planters using repurposed glass yogurt jars.
How do you make succulent planters?
The good news about succulents is that they don't really care what kind of planter they are growing in. However, if you want to match your decor or make your super cute succulents even cuter, you will want to make a planter like this!
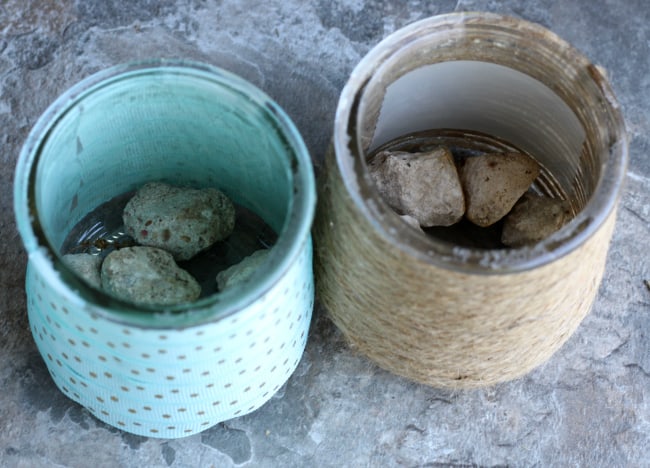
The process is simple. Just pick some twine or ribbon that you love and add it to the sides of a repurposed yogurt jar:
What do you put in the bottom of a planter for drainage? Don't forget to add rocks at the bottom for drainage so your succulent won't drown!
Check out SoulyRested's list of 10 Best Planters for Succulents for more inspiration!
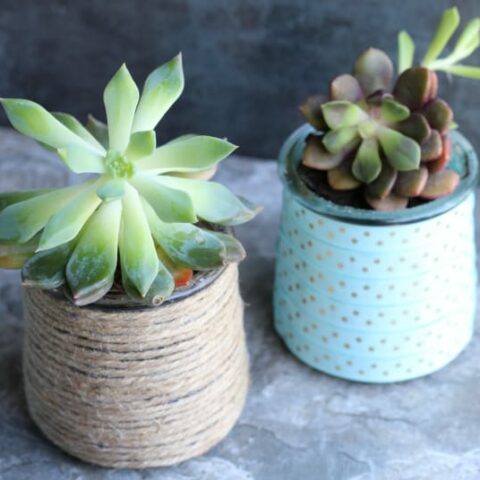
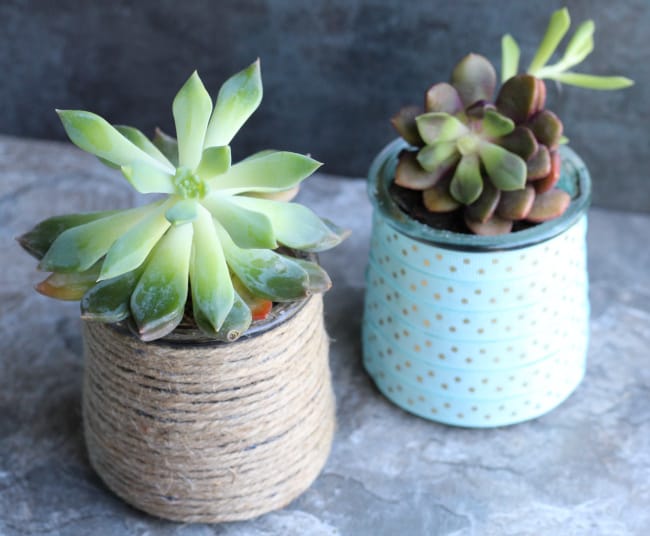
DIY Succulent Planters
DIY Suculent Planters are a great way to repurpose and also show off those gorgeous succulents!
Materials
- empty, washed out yogurt jars or other small glass jars
- thin ribbon
- twine
- small succulent plants
- rocks for drainage
- potting soil
Tools
- hot glue gun
Instructions
- Starting at the top under the rim of the jar, glue one end of your twine to the jar with hot glue.
- Carefully hot glue the twine to the outside of the jar, a little at a time, until the entire outside is covered. You can use one long piece of twine.
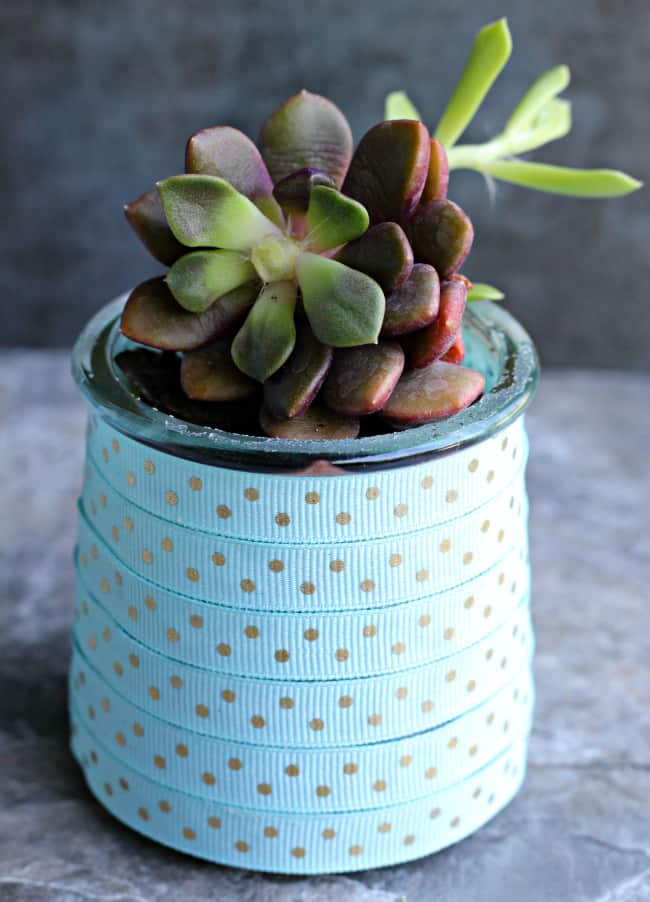
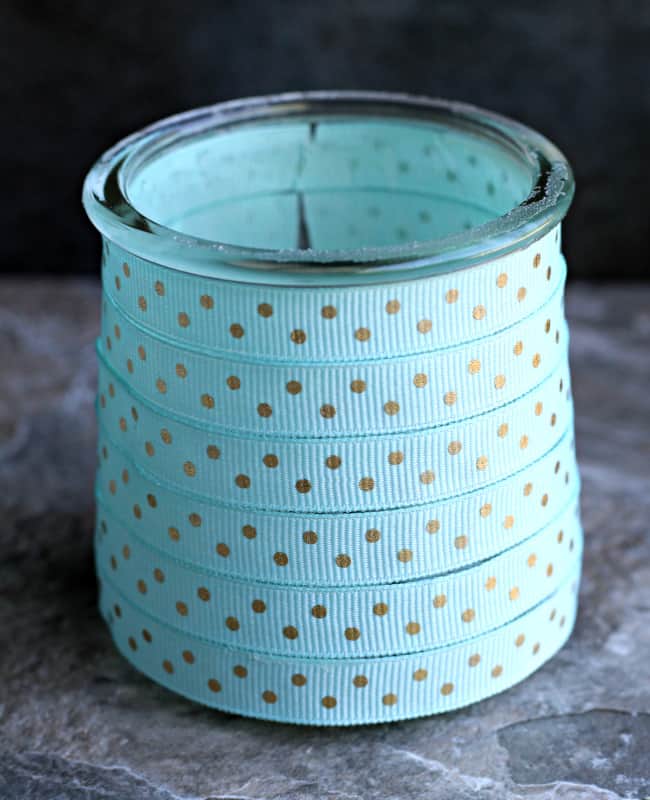
- The ribbon is a bit trickier than the twine, but it is still pretty simple! Hot glue one end of the ribbon right under the rim, measure a piece that wraps all the way around, snip it, and glue it. (You can also glue the entire piece if you prefer.)
- Continue the same - cutting and gluing the ribbon - all the way down, making the ends line up in the back so the front is more visually appealing.
- When done, place a few small rocks at the bottom for drainage.
- Fill with potting soil.
- Gently place your succulent down into the potting soil, covering up the root bulb.
- Water lightly and watch your succulent grow!
Don't miss these other fabulous ways to upcycle glass yogurt jars:


What a great idea! Those are adorable.
Had not thought about using some of the plethora of ribbon I had to decorate these. Thanks for the idea! These are adorable.
Thank you!