Easy DIY Seed Packets contains affiliate links. All opinions are mine.
I have finished all of my planting for this summer, and am currently waiting on my okra plants to start producing. Our pepper plants are really doing great, and I am actually getting cherry tomatoes for the first time ever! My squash and zucchini would be plentiful if a certain chicken would stop hopping the fence and eating it but….whatever.
My organizational skills are pretty lacking. I am not sure whether it is a tendency to shove stuff in a box and forget about it or what, but on any given day, you can find plenty of these in my house – opened seed packets that could spill at any moment.
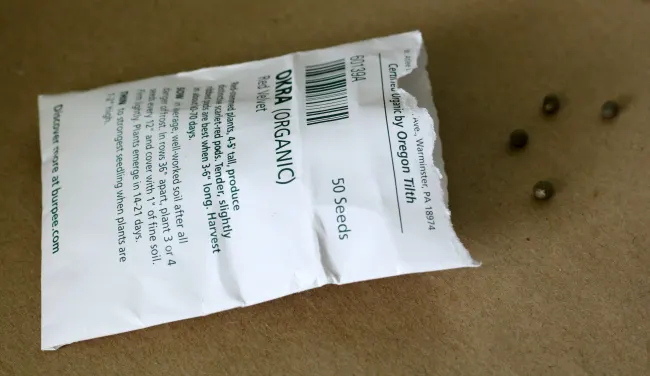
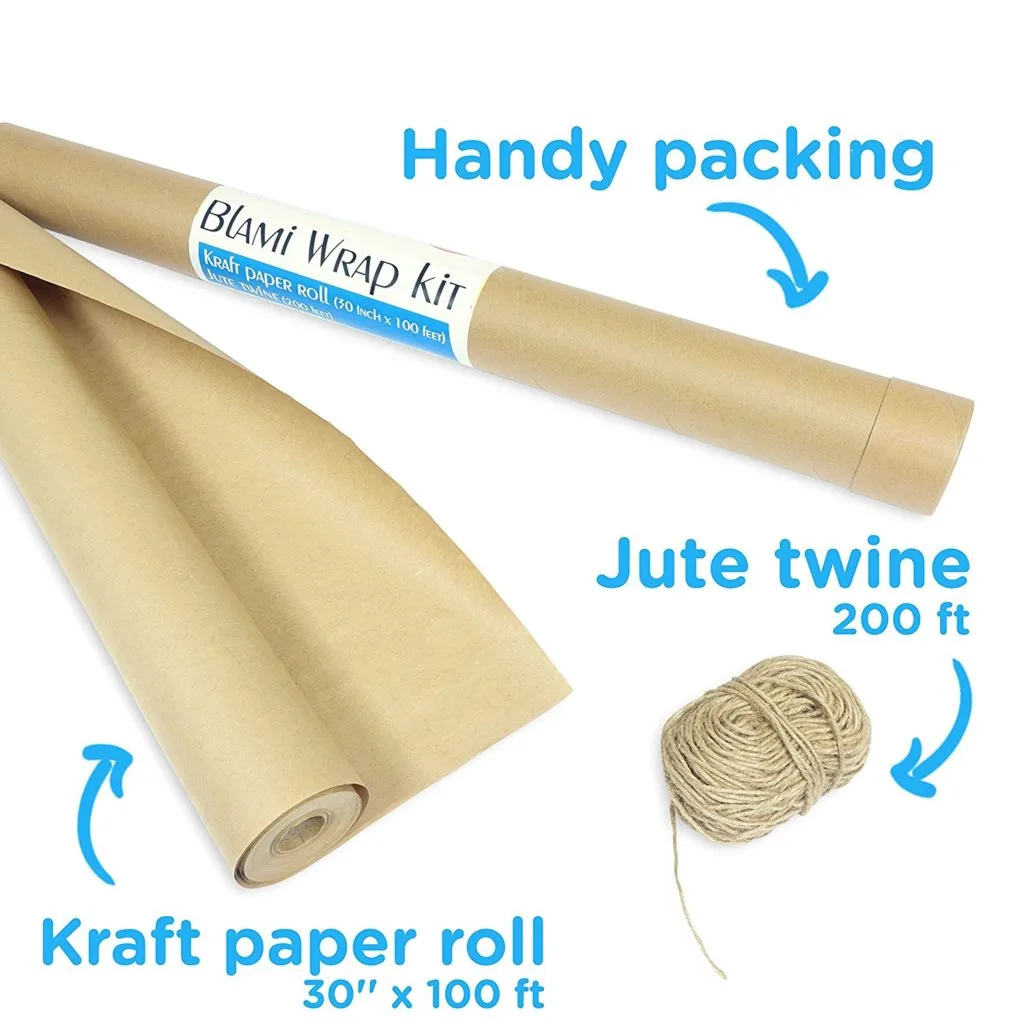
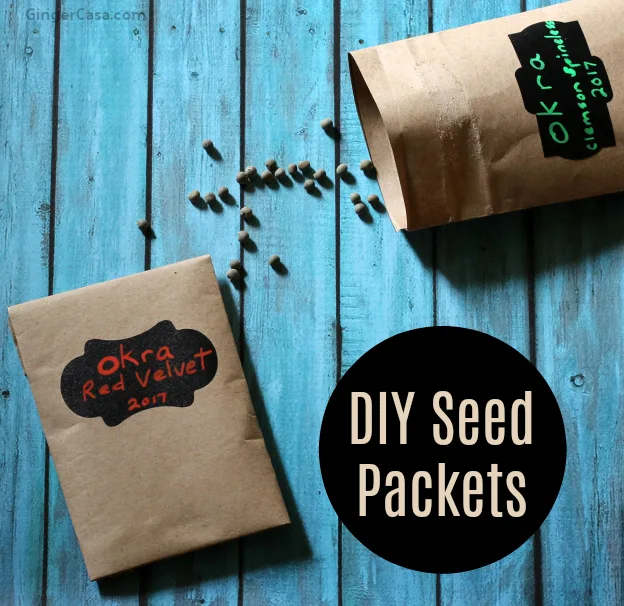
I used some brown Kraft Roll paper to make DIY seed packets. You can make them any size and decorate them however you like, but they definitely get the job done and help me keep my seeds organized.
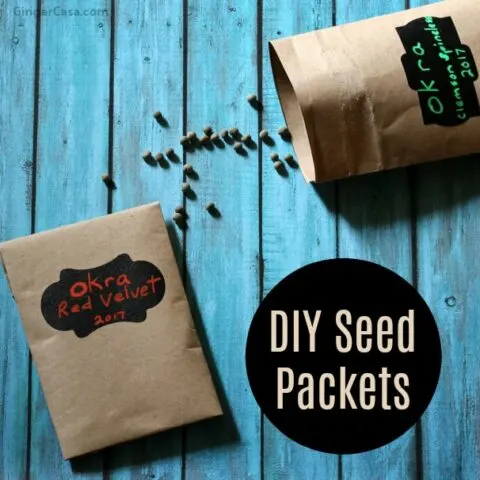
Easy DIY Seed Packets To Save Seeds Until Next Season
Make these easy DIY Seed Packets to save your seeds for next season!
Tools
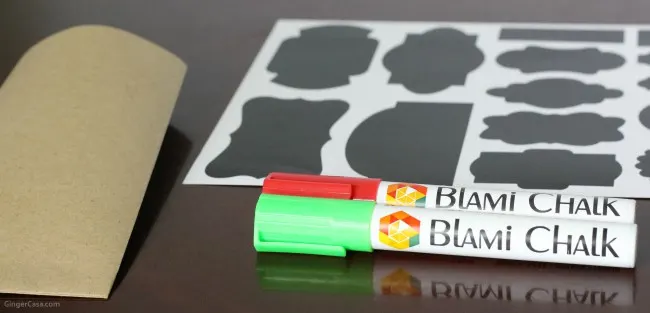
- brown craft paper
- chalk markers
- reusable labels
- ruler
- pen or pencil
- scissors
- glue
Instructions
Using a pen or pencil, mark off a square that is 7 1/2″ x 7 1/2″.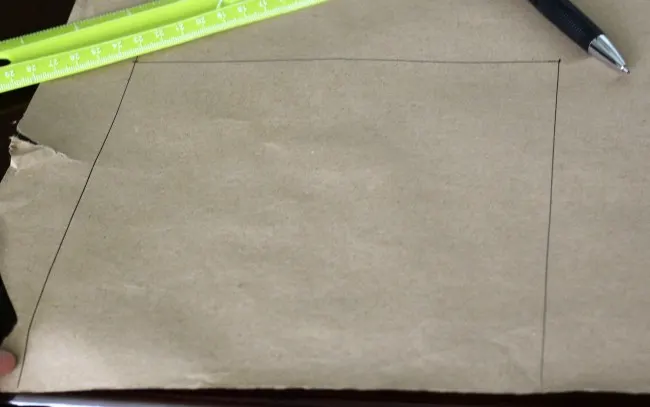 Cut the square out of the paper.
Fold paper over, left to right, with about 1/2″ piece on the right side.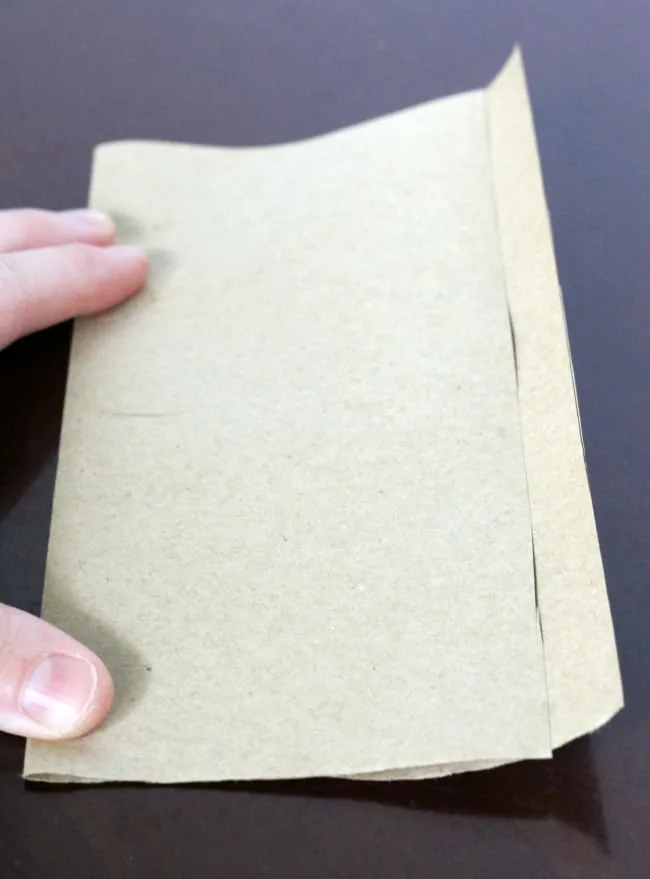
Fold up a 1/4″ – 1/2″ piece of paper on the bottom.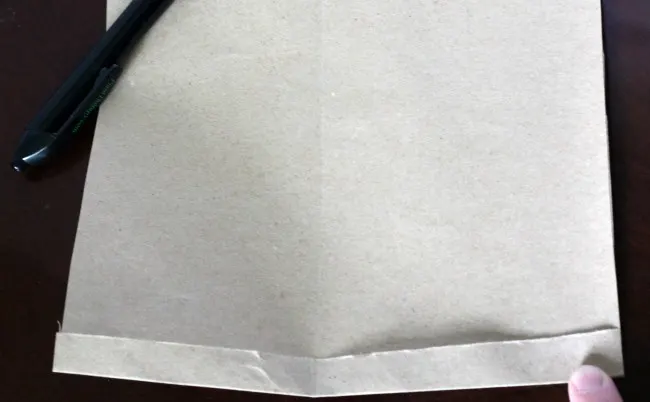
Fold side tab over to complete your packet.
Unfold and glue on the tabs, first the bottom, then the side, and close packet and hold together so glue can affix.
When dry, you have a seed packet!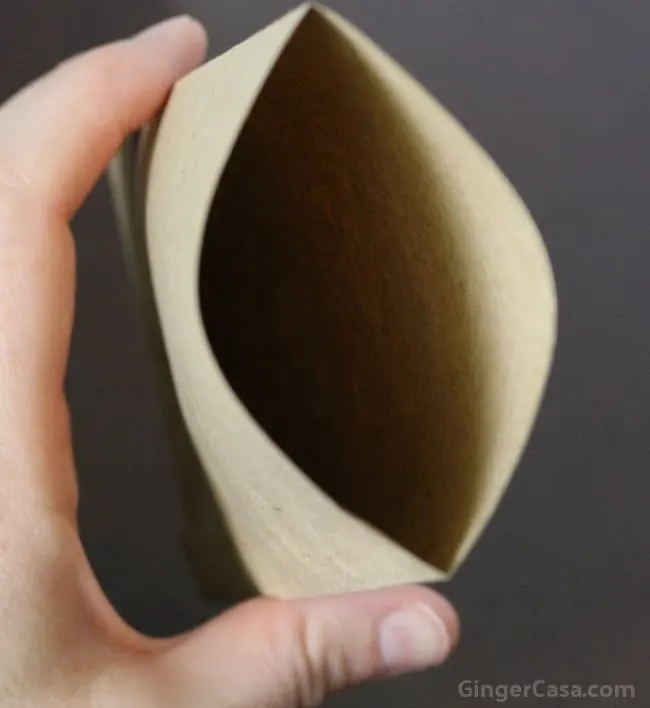
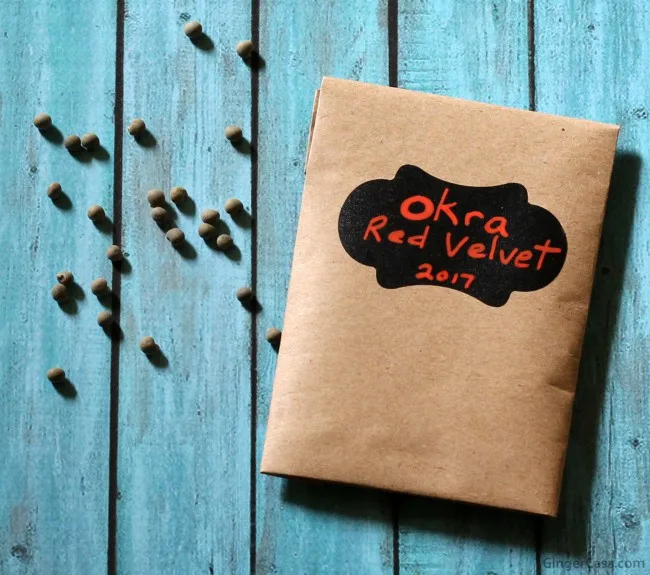
Next, use your labels and chalkboard markers to label the seed packets so you are sure what the contents are when it is time for planting season again!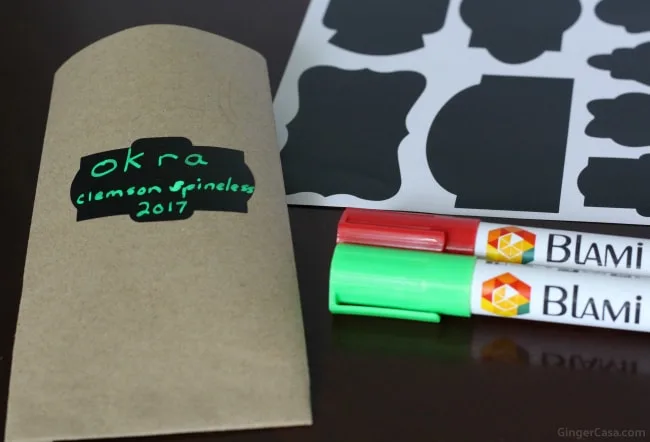 Pour your seeds in!
Lastly, you can either use a piece of packing tape to secure your seed packet, or glue it shut.
Use your labels for delicious homemade syrup for soda in upcycled maple syrup jars, too!

