
Instant Pot Silk Tie Dyed Easter Eggs
One of the main things that I love about Easter is the COLOR! The colors of Spring and Easter are always so bright and fun! Making dyed eggs is a fun way to celebrate Easter and make unique, colorful eggs. With this how-to, you will learn how EASY it is to make your traditional tie-dyed Easter eggs in the Instant Pot!

This craft is fairly simple to make. It is fun family project, and kids are free to use their imaginations and play with eggs.
My kids love to play with eggs, for some reason. There is always that challenge to NOT break the eggs. Of course, if one does break, it will be messy, but giggles will ensue. As with any Instant Pot recipe, make sure kids do not participate in taking off the lid because they could get burnt by the steam. That is something parents and adults should do themselves!

Instant Pot Silk Tie Dyed Easter Eggs
Instant Pot silk tie dyed Easter eggs!
Materials
- 6 large eggs
- ½ cup of vinegar
- 100% silk ties, the busier and more colorful the pattern an the better your eggs will look
- old thin white or light grey t-shirt that you don’t mind destroying
- Rubber bands or twist ties
Tools
- Instant Pot
Instructions
- Carefully cut the stitching out of your ties and cut into pieces large enough to completely cover each egg.
- Wrap your eggs with the full color patterned side of the tie or the front of your tie touching the egg.
- Wrap tight but be gentle, you don’t want to break the eggs.
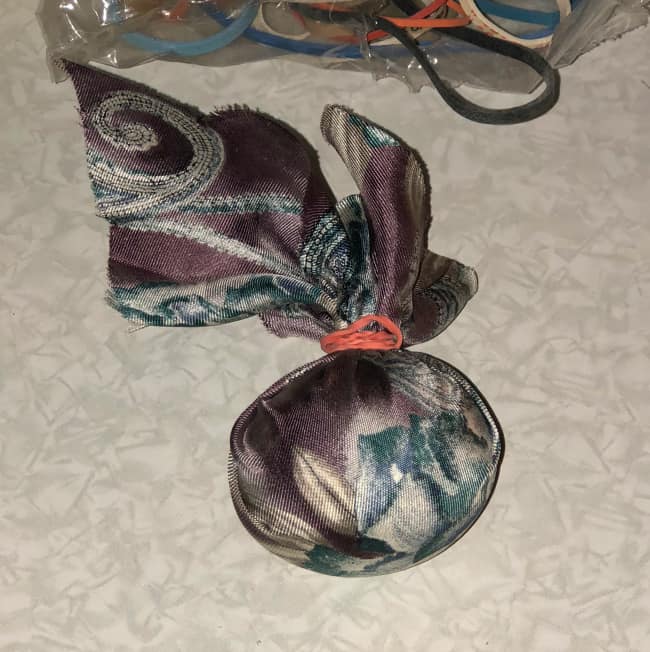
- Secure with rubber band or twist tie
- Place the old cloth over the tie to protect the colors from bleeding onto your eggs.

- Secure with rubber band or twist tie
- Put all pre wrapped eggs right in your instant pot.
- Cover eggs with water
- Add ½ cup of vinegar
- Lock lid
- Use manual high pressure for 5 minutes
- When you hear the beep, let your pot natural release for 5 minutes
- Once all pressure has released, QR the remaining pressure
- While waiting on remaining pressure make an ice bath
- Remove lid once all pressure has been released, and immediately submerge eggs in an ice bath for 5 minutes
- Carefully unwrap eggs and let dry, making sure they do not touch while drying.