Make Today Awesome With These Paper Plate Party Masks
Paper Plate Party Masks contains affiliate links

Here we are in the middle of summer. It is HOT, the kids are BORED, and this mama needs to get on the ball and get some work done. The boys love making crafts and it is a way to keep them occupied and away from screens, so why not? Yes I will have a huge mess to help the boys clean up, but sometimes, an hour of them happily crafting away is worth it. Even if I have to assist and even if there is a mess, which there will be, it is worth it!
You can use paper plates for so many things. Fun colored party paper plates make fancy masks. Create these paper plate masks with your kids and make this summer day awesome!

Have fun making these colorful paper plate party masks with your kids!
Another fun craft for kids:

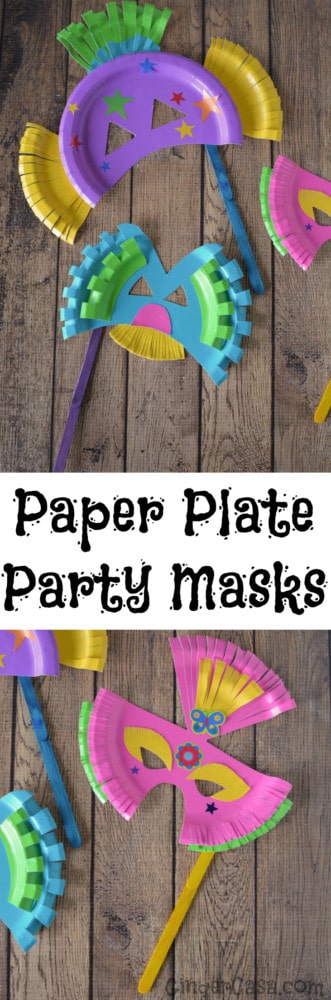
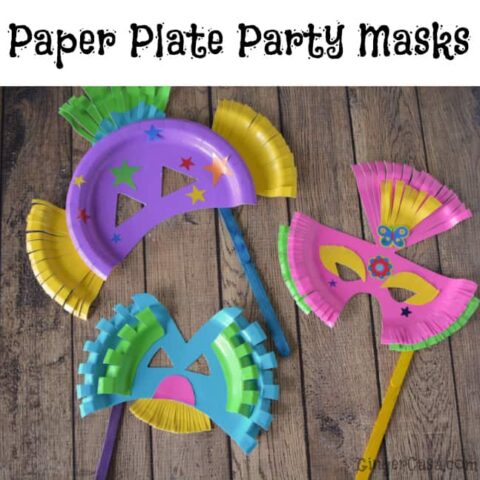
Make Today Awesome With These Paper Plate Party Masks
Make today awesome with these fun paper plate masks!
Materials
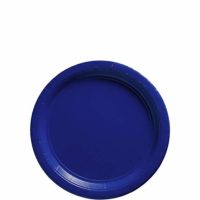
- Small Colorful Paper Plates
- Colored Craft Sticks (2 per mask)
- Stickers
- Curling Ribbon (optional)
Tools
- scissors
- utility knife
- cutting board
- pencil
- ruler
Instructions
- Start by gluing two craft sticks together. Add about 1″ of glue to the end of 1 stick and attach another stick to the glue. Set aside to dry completely.

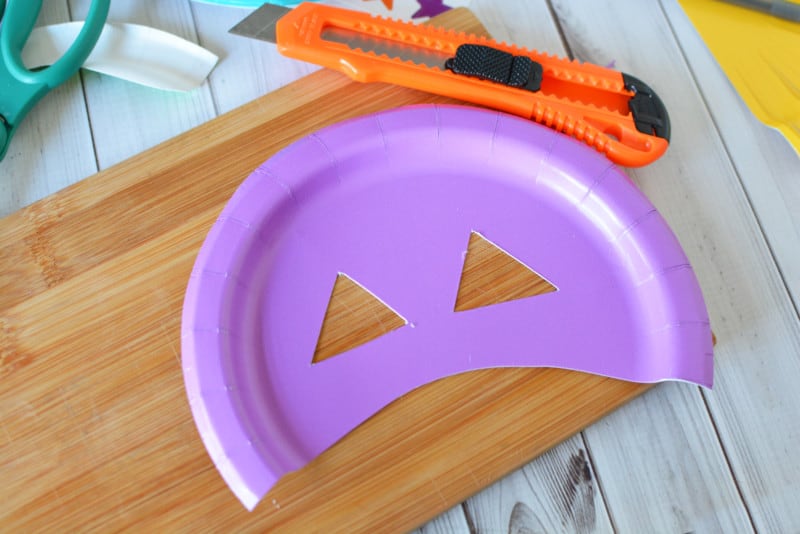
- Measure the center of your plate with a ruler and make a mark (mine was at 3.5″). Use this mark to place round eyes on mask and mark a half circle at the bottom to cut out for the mask.
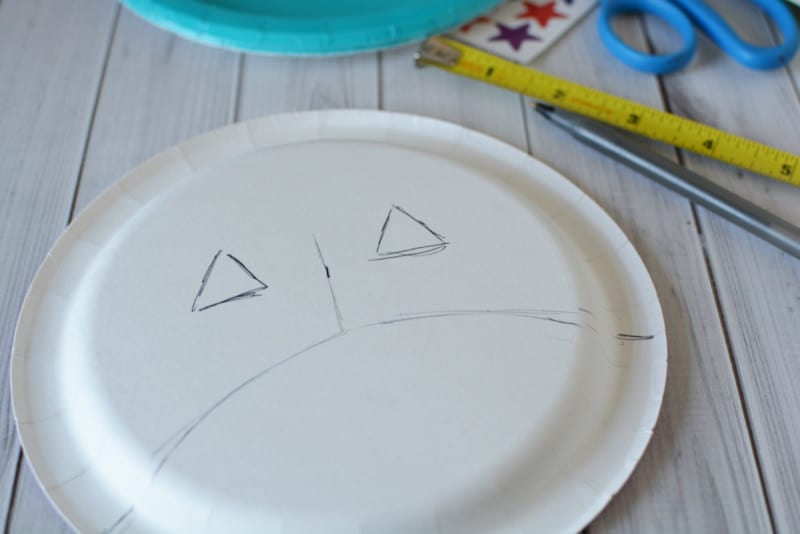
- Use scissors to cut out the bottom of the mask.
- To cut the eyes, place your plate on a cutting board and use a utility knife. It’s easiest if you cut out one eye and then trace the cut out on the other side and cut it out.
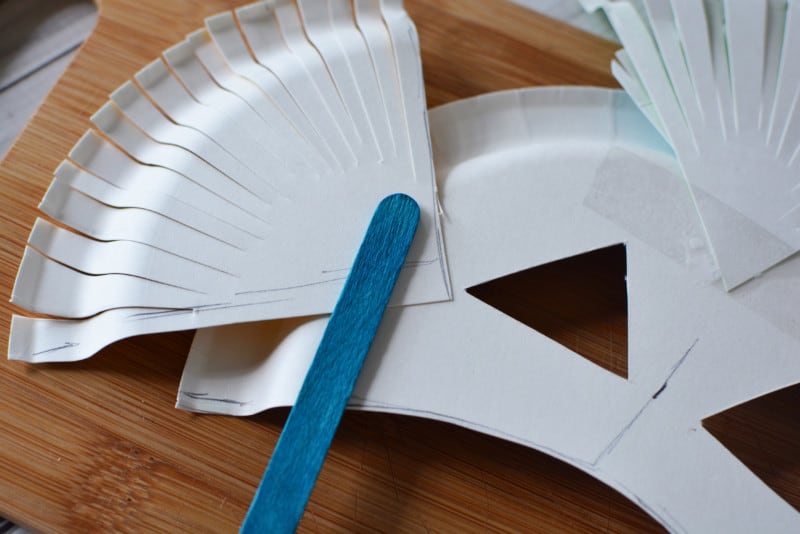
- Add paper plate embellishments to your masks. You can do this by cutting a plate in quarters and then use 1 quarter piece to cut “fringe” into the edge. Attach to the plate with white glue.
You can also fold your “fringe” to create dimension.
- Fold every other piece of fringe to create dimension. attach with white glue.
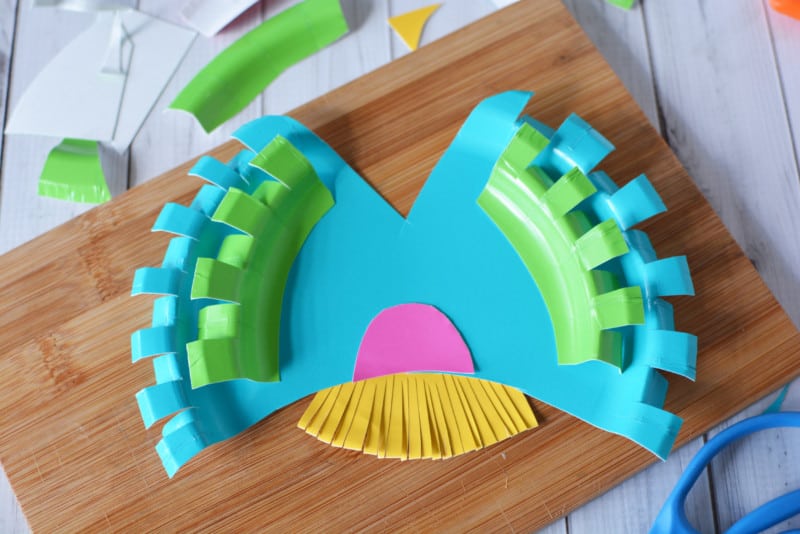
- Add stickers to your masks to decorate them.
- When you are finished with your mask, attach the stick to one side with white glue. Let dry completely before using.
Notes
There are no right or wrong way to make these paper plate masks. Let your imagination run wild!
Recommended Products
As an Amazon Associate and member of other affiliate programs, I earn from qualifying purchases.